Each time I restart my NAS (for update reasons), I have errors 404 when trying to reach any post of my WordPress blog, until I re-set permalinks’ settings. I finally fixed it by updating my WordPress with latest Synology’s package.
Click to Read More
A long time ago, rebooting my NAS started to result systematically in 404 in my WordPress blog. I found a manual fix here: simply resetting WordPress permalinks’ settings was solving the problem… until the next reboot 🙁
But I never understood why rebooting my NAS was resulting in the lost of permalinks’ settings. And could find a definitive solution.
I finally took today an hour to reproduce and further investigate the problem (motivated by the shiny sun outside :p). I found that restarting only the WordPress Package was also resulting in this issue. I noticed more precisely that the .htaccess file was deleted when starting the package (not when stopping). I am sure that removing access rights on the .htaccess file for WordPress, as described here for example, would be a solution. But the not best one.
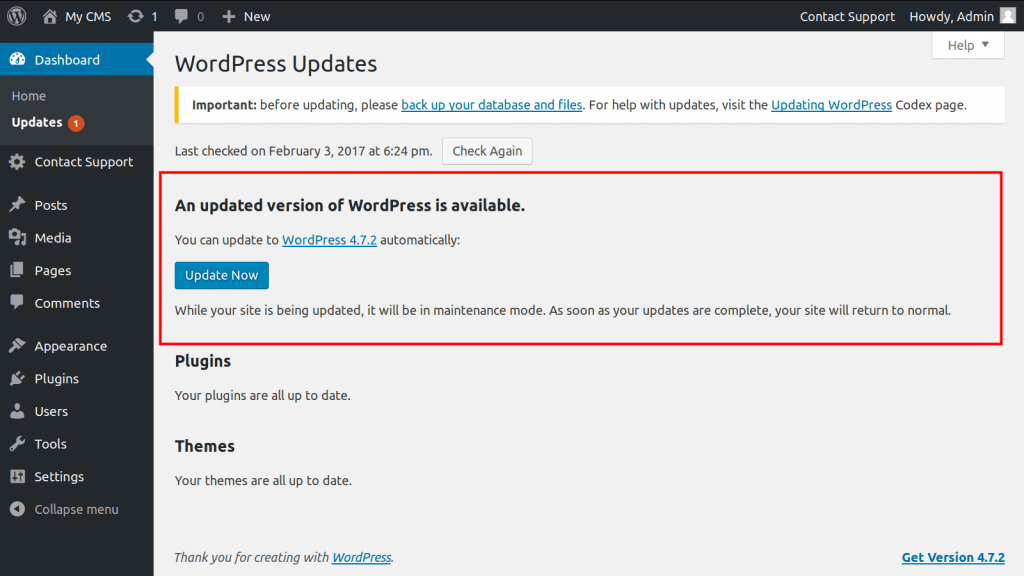
I found the best solution by accident. A long time ago, as I was interested in a version of WordPress more recent than the one available via Synology’s packages, I did a manual upgrade with the official WordPress setup. Since that time, I never did an update anymore with Synology’s Package Manager, but used the native WordPress update via its own Dashboard:
Today, I did a backup of WordPress’ installation folders and updated Synolgy’s WordPress Package. Once the update accomplished, I noticed that the .htaccess was containing information specific to Synology:
# Synology PHP
AddHandler default-handler .htm .html .shtml
AddHandler php-fastcgi .php
AddType text/html .php
Action php-fastcgi /php56-fpm-handler.fcgi
# Synology PHP
# BEGIN WordPress
<IfModule mod_rewrite.c>
RewriteEngine On
RewriteBase /wordpress/
RewriteRule ^index\.php$ – [L]
RewriteCond %{REQUEST_FILENAME} !-f
RewriteCond %{REQUEST_FILENAME} !-d
RewriteRule . /wordpress/index.php [L]
</IfModule>
# END WordPress
And now, when restarting WordPress, the .htaccess is not deleted anymore (and permalink’s settings are not lost). There is certainly a good explanation, that I ignore, but at least I won’t suffer 404 anymore.
And next time I update manually WordPress, I will pay attention to backup the .htaccess as specially clearly recommended here, as well as merging that .htaccess with the updated one after the update of the Permalinks’ structure:
-
Backup your database. Read Backing Up Your Database for a detailed explanation.
-
Backup ALL your WordPress files in your WordPress directory. Don’t forget your .htaccess file.
-
Verify the backups you created are there and usable. This is essential.
-
Ensure first four steps are completed. Do not attempt the upgrade unless you have completed the first four steps.
-
Delete the old WordPress files on your site, but DO NOT DELETE
wp-config.phpfile;wp-contentfolder; Special Exception: thewp-content/cacheand thewp-content/plugins/widgetsfolders should be deleted.wp-imagesfolder;wp-includes/languages/folder–if you are using a language file do not delete that folder;.htaccessfile–if you have added custom rules to your.htaccess, do not delete it;robots.txtfile–if your blog lives in the root of your site (ie. the blog is the site) and you have created such a file, do not delete it.
-
Upload the new files from your computer’s hard drive to the appropriate WordPress folder on your site.
-
Run the WordPress upgrade program and follow the instructions on the screen.
-
Update Permalinks and .htaccess. Update your Permalink Structure and merge the custom rules, if necessary, into your .htaccess file.
-
Install updated Plugins and Themes. Please review the list of Plugins that work in Version 4.8. Check for Theme Compatibility with 4.8 and ask your Theme author for any new version.
![]()