Here is how to add the Philips Hue Bridge in OpenHab and control the Hue devices (more doc here).
Click to Read More
Add first the Bridge Philips Hue
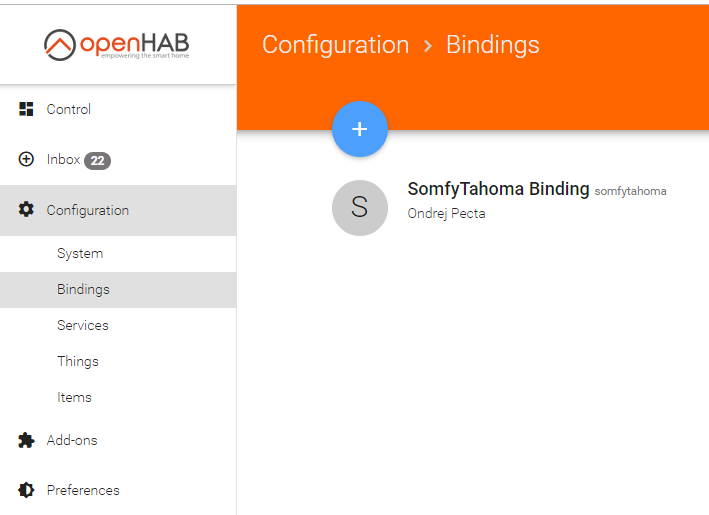
Go to Paper UI’s Configuration > Bindings and click on the blue “+” (or go directly to Configuration > Add-ons, in the tab “Bindings”) :
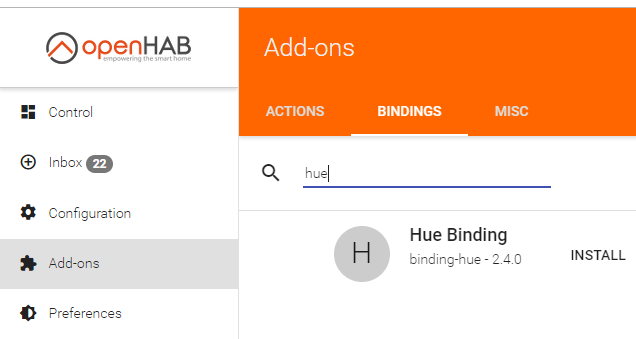
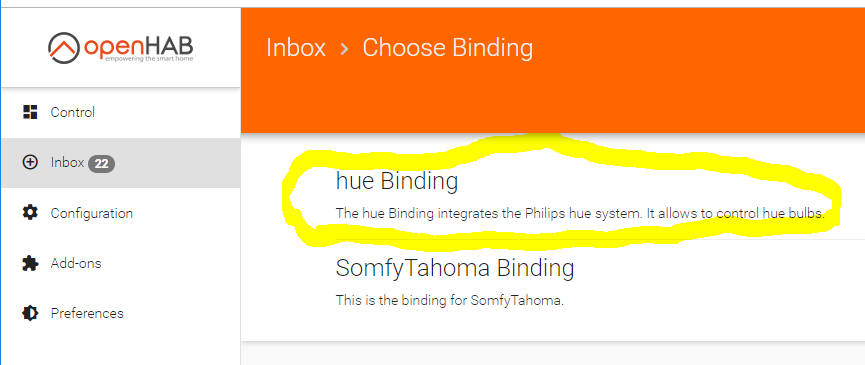
In the Search box, type “Hue” to filter the “Bindings”. Click on the “Install” link on the right of the “Hue Binding” to install it :
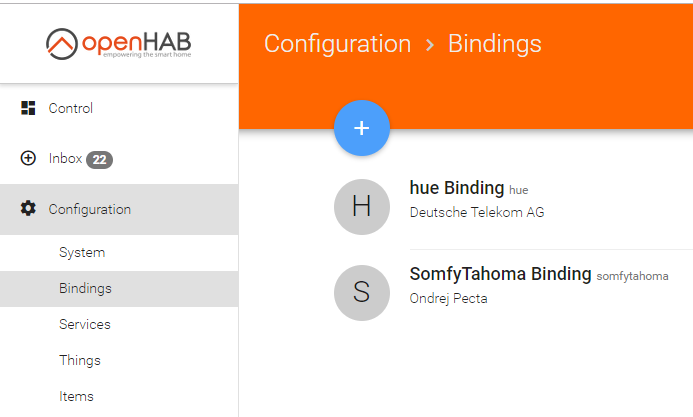
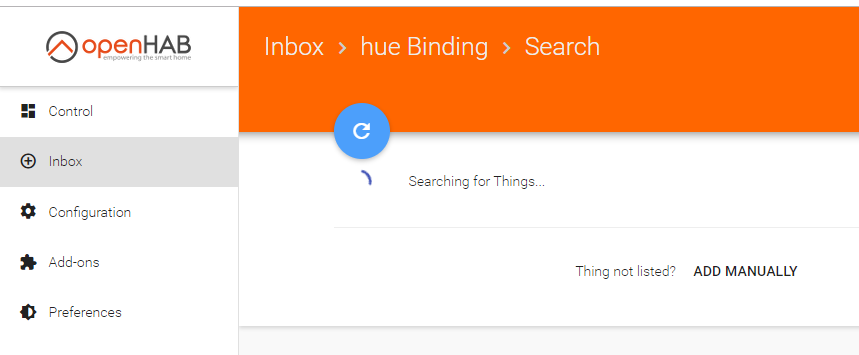
With the Hue Binding, you can now add a “Hue Bridge”. Go to your physical “Bridge” Philips and press the button on the top as you do to pair Hue devices with the Bridge. Go next to Configuration > Things and click on the Blue “+”. Then select “Hue Binding”. OpenHab will find the “Hue Bridge” :
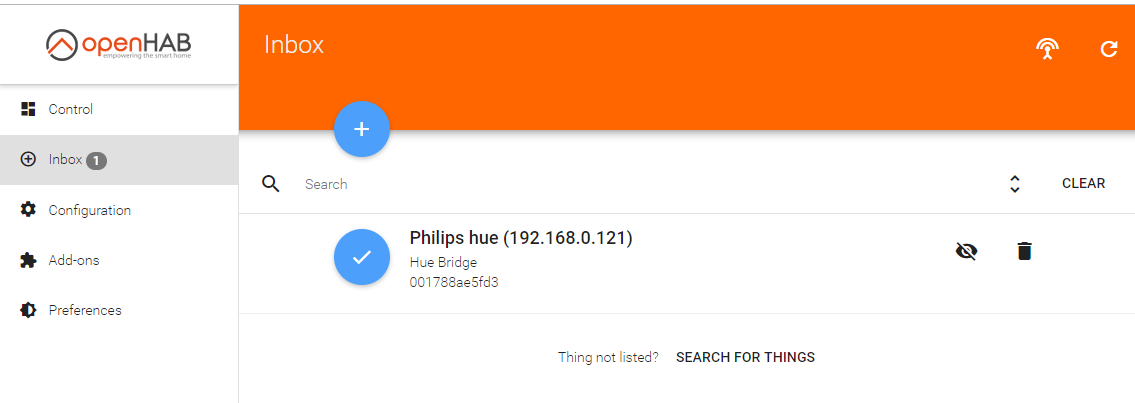
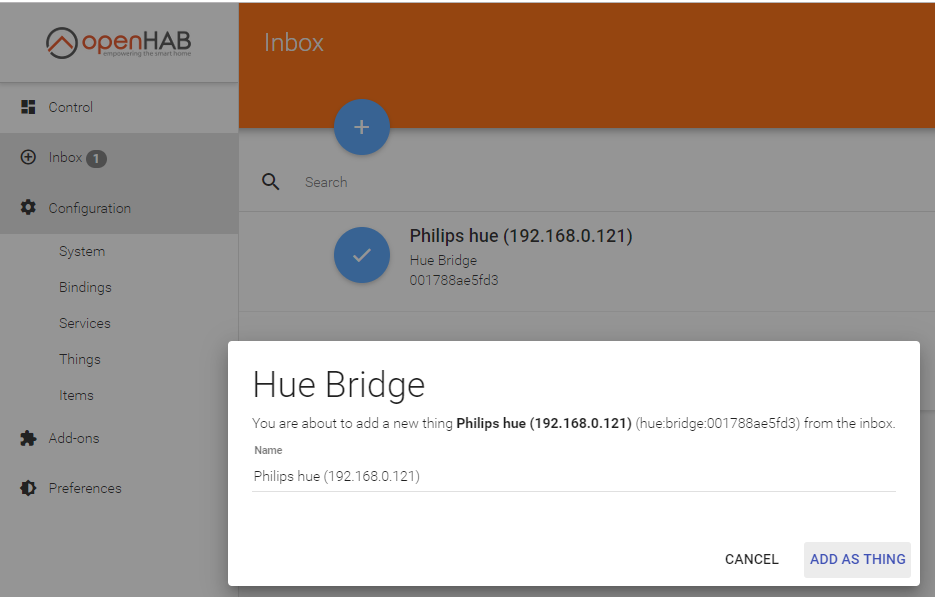
Select the “Hue Bridge” and click on “Add as Thing” :
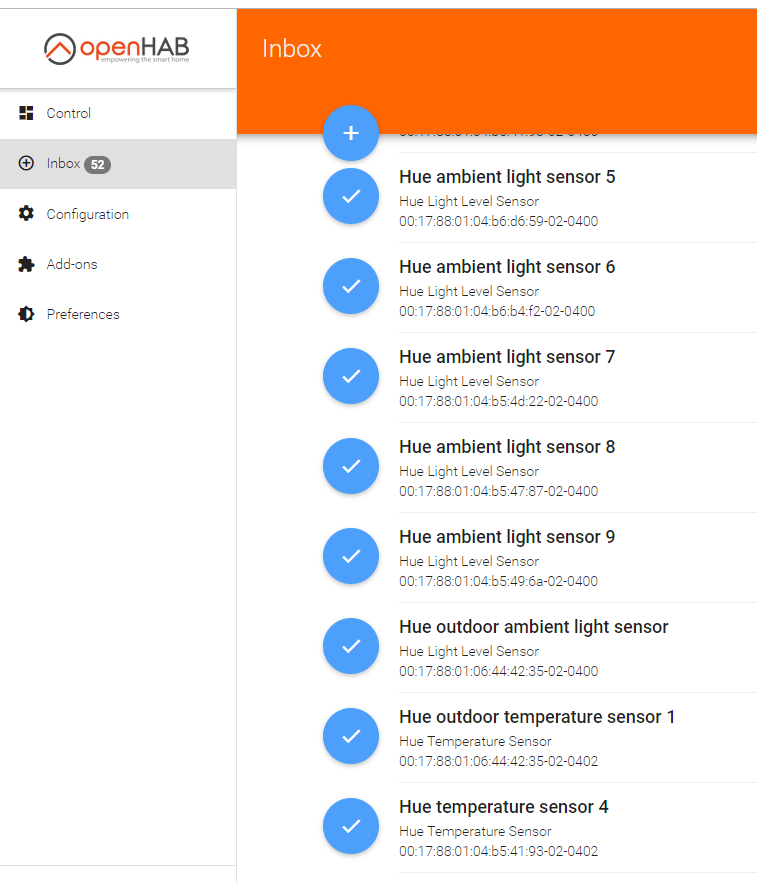
If everything worked fine, you should see all your Hue Devices in the “Inbox”.
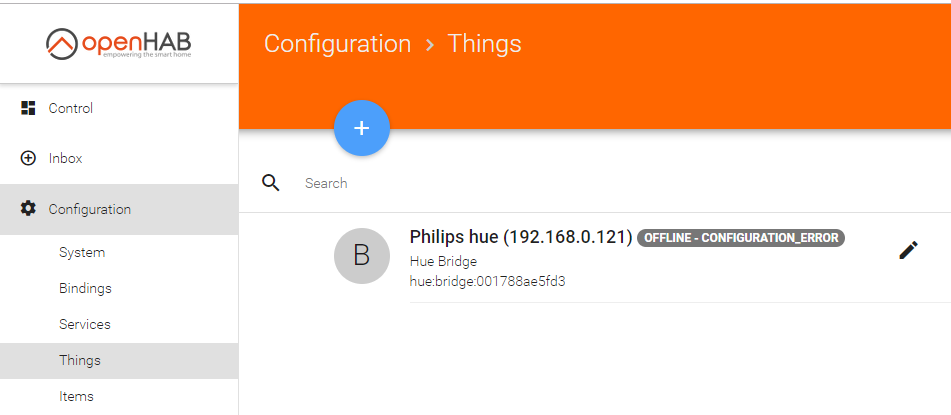
Otherwise, you will probably see the “Hue Bridge” as “Offline – Configuration_Error”. This is probably due to an issue during the pairing with the physical “Bridge” Philips. OpenHab has not been authorized to access it.
It’s possible to set the authorization manually (See Here). First, find the IP address of your “Philips Bridge” by opening the page https://discovery.meethue.com
You should see something like: [{“id”:”001788fffeae5fd3″,”internalipaddress”:”xxx.xxx.xxx.xxx”}]
Next, using the internalipaddress above, open the page http://xxx.xxx.xxx.xxx/debug/clip.html and before pressing the button “POST”, type :
- /api/ in the “URL”
- “{“devicetype”:”my_hue_app#openhab”}” in the “Message Body”

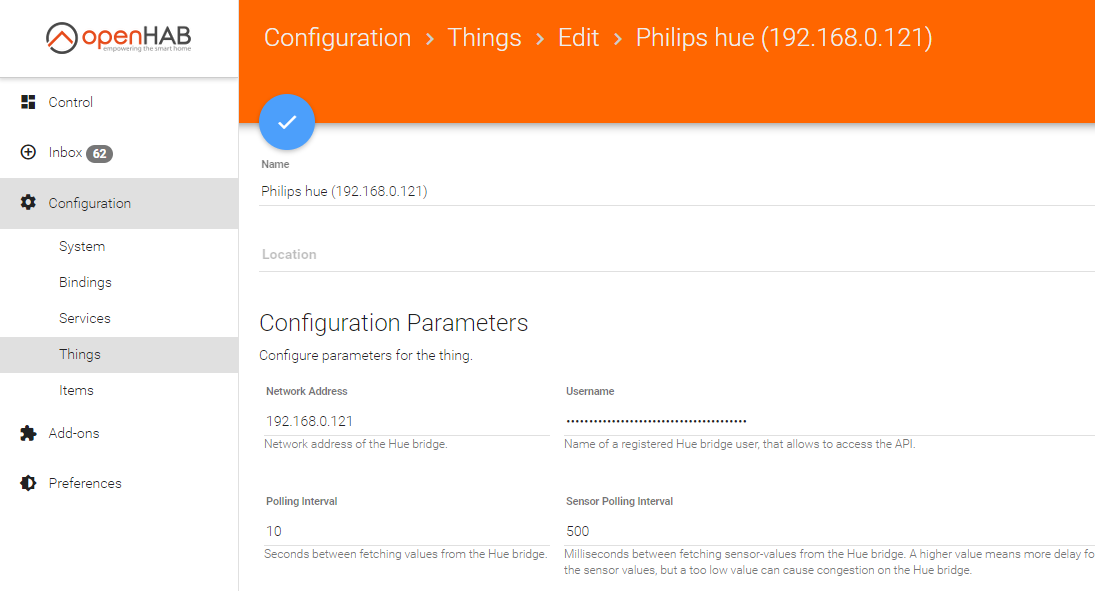
In the “Command Response”, copy the value of the “username”. Go to Configuration > Things, edit the Bridge (click on the pen) and paste the value in the field “Username”
Configure next each Philips Hue device
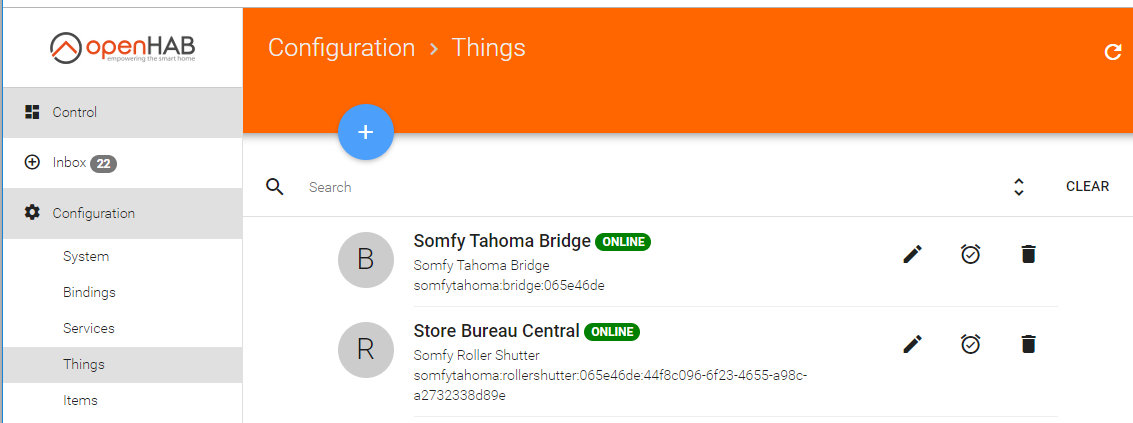
You can select any of the Philips Hue devices appearing in the Inbox. Each selected device is added as a Thing (under Configuration > Things). There, you can link them with Items that you have previously defined as described here.
Extended Color Light
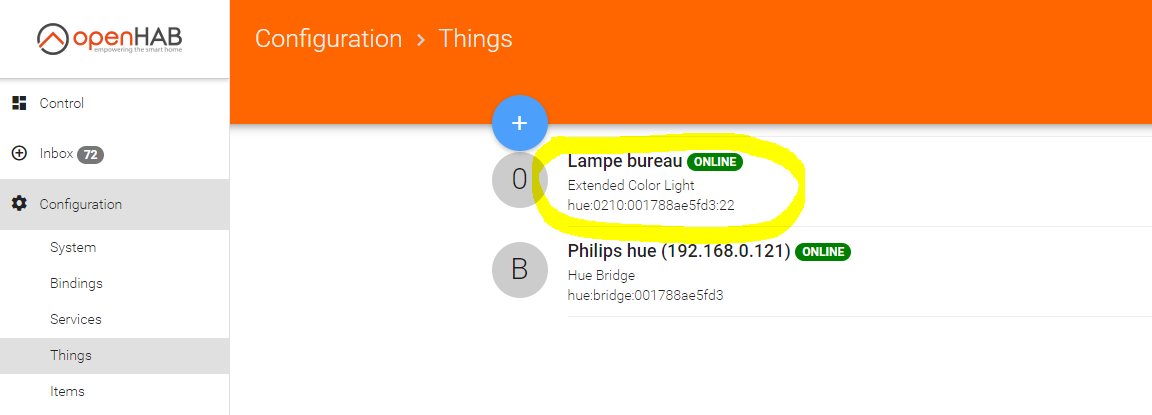
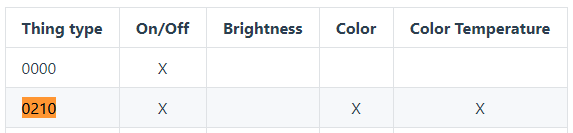
If you want to configure a Thing of type “Extented Color Light”, you can look what are its supported features in the official openHab documentation for Philips Hue (here).
As you can see on your Thing , it has an ID like “hue:0210:001788ae5fd3:4″
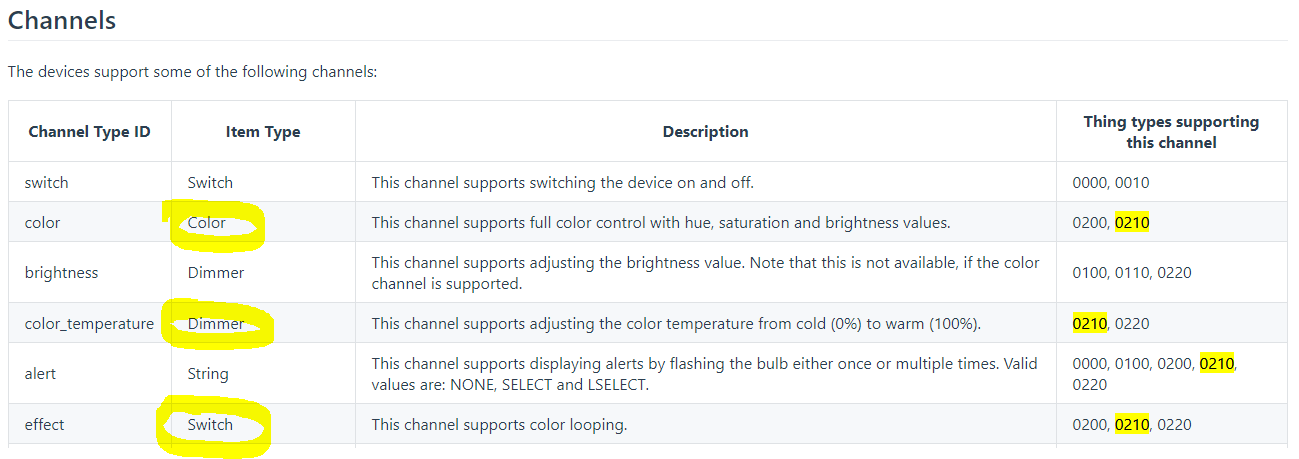
What is not clear in the documentation of the Channels, for example with the color Channel is that you can link not only a Color Item with it, but also a Dimmer and a Switch.
Personnaly, if I define all my Items within a file (as described here), I configure my Devices by creating Links between my Items and my Things directly within the Paper UI interface.
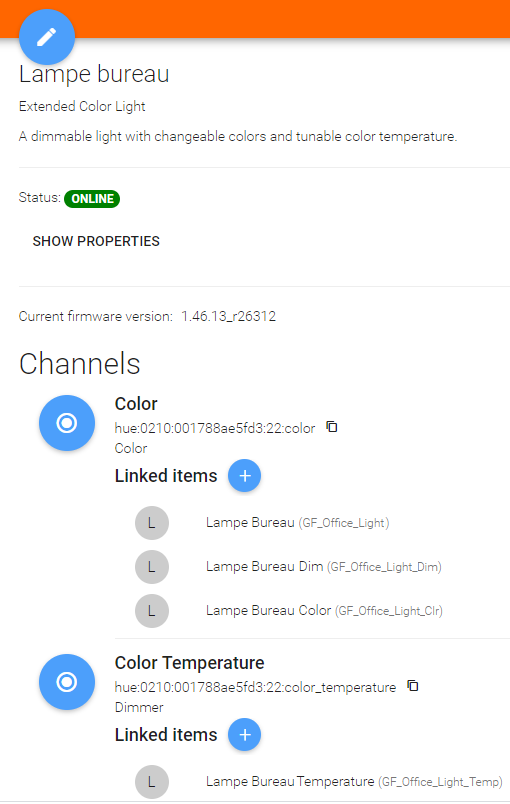
For a Extended Color Light, my Items file (default.items) will contain:
Switch GF_Office_Light "Lampe Bureau" <light>Dimmer GF_Office_Light_Dim "Lampe Bureau Dim" <light>Color GF_Office_Light_Clr "Lampe Bureau Color" <light>Dimmer GF_Office_Light_Temp "Lampe Bureau Temperature" <light>
And I configure the Links between the Thing and those Items like this :
Finally, in my Sitemap, I will use:
sitemap default label="Olympe Home" { Frame label="Rooms" icon="group" { Text label="Bureau" icon="groundfloor" { Switch item=GF_Office_Light label="Switch" icon="light" Slider item=GF_Office_Light_Dim label="Dim" icon="slider" Colorpicker item=GF_Office_Light_Clr label="Color" Slider item=GF_Office_Light_Temp label="Temperature" icon="slider" } }}
And here is the outcome:

![]()
Leave a Reply