Once OpenHab 2 installed on Synology, it can be configured with :
- its “Home Builder” : this screen let you generate “settings” describing your house and its content. Those settings can be saved into a DB or copied into config files.
- its “Paper UI” : this screen let you add all your connected devices into openHab. Once added, they can be linked with the content of your house described with the “Home Builder”.
Click to Read More
The “Home Builder”
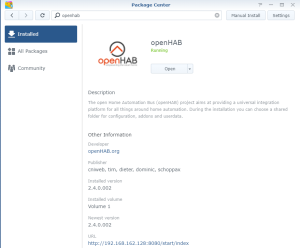
Open the Package “openHAB” via the Package Center > Installed > OpenHAB and click on the “Url” at the bottom of the screen :
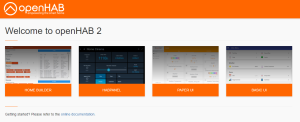
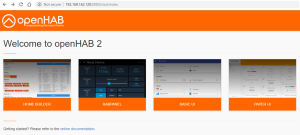
A new tab should open with the “Welcome page” (To access it easily, simply type the http address of your Synology and the port 8080 or it https address and the port 8443 – or the ports you would have chosen during the installation of OpenHab)
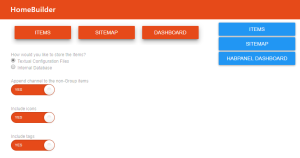
It the “Welcome page”, open the “Home Builder” :
In that “Home Builder”, you will recreate your house, with the various Floors, Rooms per Floor and Items (Object) per Room. Later you will link each of those items with the actual “Things” to be controlled in your house (Those Things belonging to your IoT).
First, type a name for your home.
Next select all the “Floors” existing in your home. If you want to add floors not available in the list, simply type their names. Here under, the Floors “Cellar”, “Ground Floor”, “First Floor”, “Second Floor” and “Third Floor” are already selected and I am going to pick Outside: 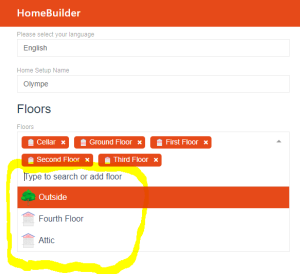
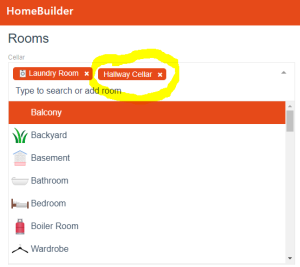
Then, for each Floor added above, select the “Rooms” to be created. If you want to add a Rooms not available in the list, simply type their names. Here under, I already picked the Rooms “Laundry Room” and “Hallway Cellar” for the Floor “Cellar”, and I am going to pick the Room “Balcony” :
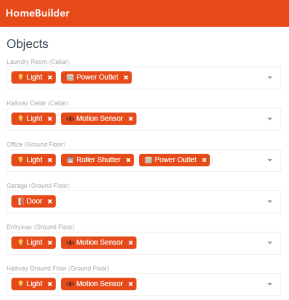
Finally, for each Room added above, select the Items (Objects) to be created. You can here also create new Objects by typing their names. Here under, I added one “Light” and one “Power Outlet” in the “Laundry Room” on the Floor “Cellar”, one “Light” and one “Motion Sensor” in the “Hallway Cellar” on the Floor “Cellar”, etc… :
The settings of your home are now ready. They can be saved in an “internal DB” or in “text files”. I decided to save them in text files to be able to modify them manually more easily in the future.
The “Items”
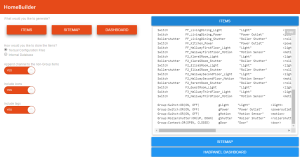
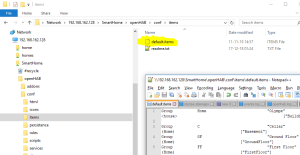
To save the “Items” in a text file, click on the button “ITEMS”. The settings will be shown on the rights. Click on the floating button “Copy” in the top-right corner of the settings pane. Next, paste those settings in a file name “default.items” created (e.g. with notepad++) into the folder /openHAB/conf/items of the Shared Folder “SmartHome” :
The “Sitemap”
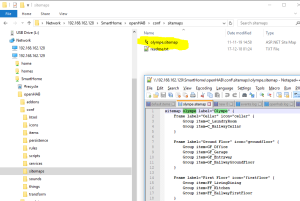
Copy also the settings displayed when clicking on the button “SITEMAP” (These are the links between the Floors, the Rooms and the Items. They will be used to display a basic screen with all the items). Save them in a file named “xxx.sitemap” – were xxx is the name of your home, to be found in the settings of your sitemap (highlighted here under in green : “olympe”) :
To see the outcomes, go back the the “Welcome page” :
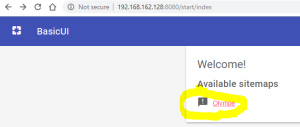
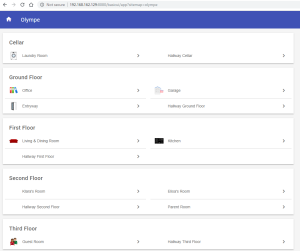
And there, open the “Basic UI” where you will see your sitemap. Click on it to display your home :
When your “Items” will be linked to “Things” (as explained later), you will be able to click on them here to control them.
The “HabPanel DashBoard”
The HabPanel DashBoard is a advanced UI which can be highly customized to display screens much more sexy than the basic UI (See various samples created by end-users here). You can even create custom dashboards specific for each of your interfaces : Tablet, mobile, PC screen, …
To create a dummy dashboard, click on the button “DASHBOARD” and copy the settings going to be displayed on the right :
You should see a link “”Paste the content in this config page” at the bottom of the settings.
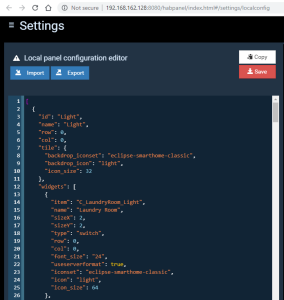
Open that link and paste the settings there :
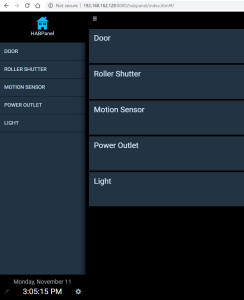
Go back to the “Welcome page” and click on “HabPanel” to open it :
I said that this is a dummy HabPanel because it is not useful at all IMO. You will for sure change it completely to offer a more relevant display.
The “Paper UI”
Now that you have described your house (Floors and Rooms) and its content (Items), it’s time to link the “Items” with “Things”, the actual devices to be controlled.
Go to the “Welcome page” and select “Paper UI” :
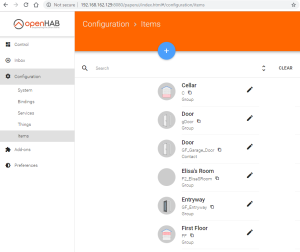
NB.: you can review all your Items under the entry Configuration > Items of that “Paper UI” :
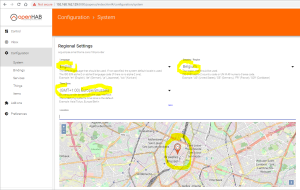
NB.: you can also define your location under Configuration > System :
The principle of the “Paper UI” is quite simple : you must install “Bindings” to be able to detect your devices. Ex.: a “Somfy Tahoma Binding” to detect your Somfy blinds, a “Hue Binding” to detect your Philips Hue bubbles, etc…
Once a Binding installed, you can use it to add a “Thing” corresponding to the physical “Bridge” used to access your devices. Ex.: the Tahoma Bridge, the Hue Bridge, etc…
This Bridge (Thing) must be configured to become accessible by openHab (Usually its IP address, your login/password, etc…). Once this configuration done, all the devices accessible via the Bridge will be detected and added into the “Inbox”. If some devices are not detected automatically, they can sometimes be added manually.
Each device available in the “Inbox” can be added as a “Thing” and linked with an “Item”. As soon as an “Item” is linked with a “Thing”, it can be used to control the related device. What can be done exactly (Switch On/Off, Open/Close) depends on the type of “Item”.
The type of each Item (“itemtype”) is defined in the config file “default.items” created previously (See the documentation of OpenHab here for the details). As far as the Bindings are managed here via the “Paper UI”, each item follows this pattern:
itemtype itemname "labeltext [stateformat]" <iconname> (group1, group2, ...) ["tag1", "tag2", ...]An itemtype, as you can see in the documentation, can be Switch, a Dimer, a Color, a Rollershutter, an Image, a Contact, a String, a Number, a Group, etc…
- A Switch can be turned on or off
- The value of a Dimer can be set between 0% to 100%,
- A Rollershutter can be open or closed completely or partially,
- An Image can be set with a picture,
- A Contact can have the status Opened or Closed depending on the position of a related Door or Window,
- A String can be assigned with text such as the name of a radio or a song currently played by a device,
- A Number can be assigned by a sensor (temperature, illuminance, …). Depending on the type of Number, it must be noted “Number:Illuminance”, “Number:Temperature”, …
- The itemtype Group is used for the Floors and the Rooms. But not only. They can also be defined with this pattern:
Group[:itemtype[:function]] groupname ["labeltext"] [<iconname>] [(group1, group2, ...)] - A Group can be used to calculate a sum or an average of values. Depending on the computation, it must be noted “Group:Number:AVG” or “Group:Number:SUM”
- A Group can also be used to control several “Items” together. In such a case, the status of the Group must be defined as a function (AND, OR, NAND, …) of the status of each Item. Ex.: Group:Switch:OR(ON, OFF),
Group:Rollershutter:OR(UP, DOWN), Group:Contact:OR(OPEN, CLOSED), …
See for concrete samples on https://www.beatificabytes.be/tag/openhab/
![]()

Leave a Reply