I was looking for one local and single platform to control all my connected devices : Philips Hue, Somfy blinds, Fibaro Wall Plugs, IFTTT scenario, … OpenHab 2 can do that once installed on a Synology!
Click to Read More
To install OpenHab 2 on Synology, I did use the official doc and this great tutorial from Thomas Schwarz.
Prerequisites
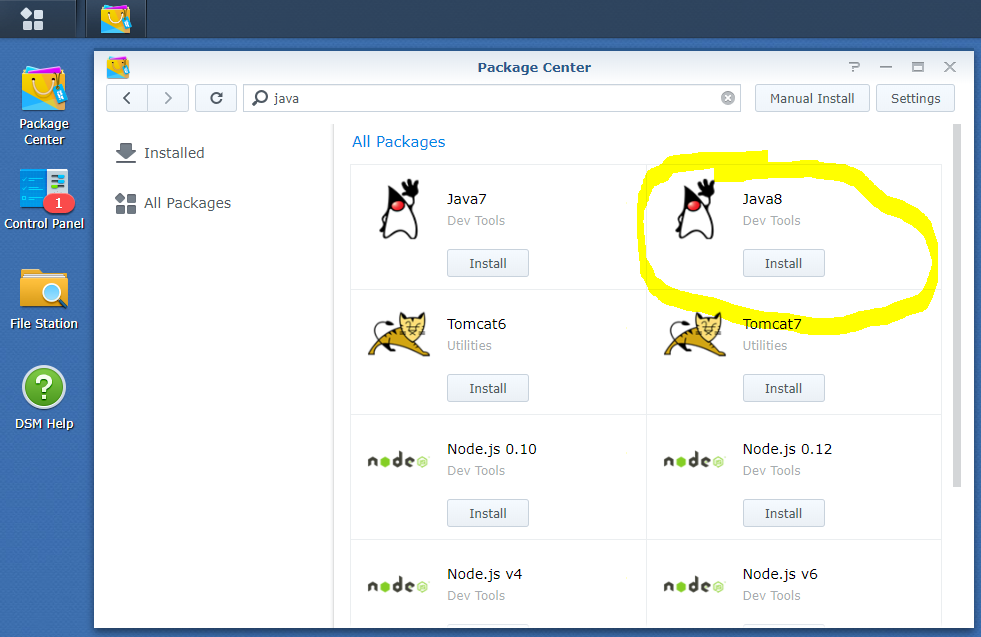
First, install Java on your Synology. It is available as a package in the Package Center :
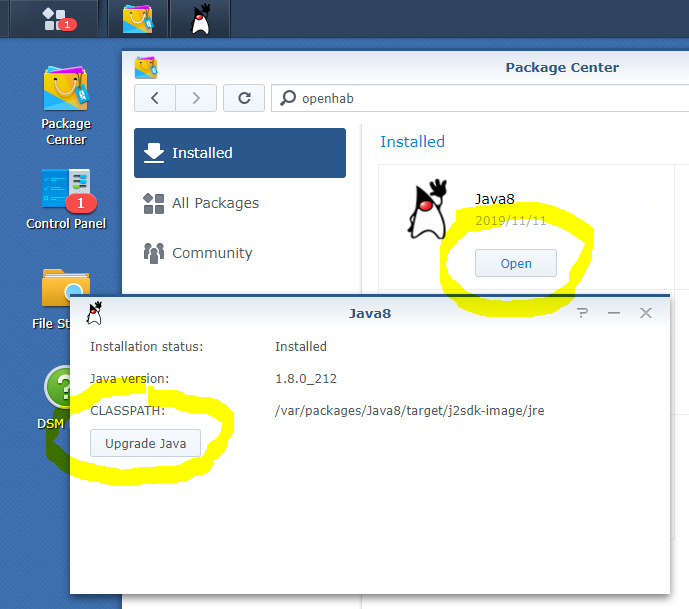
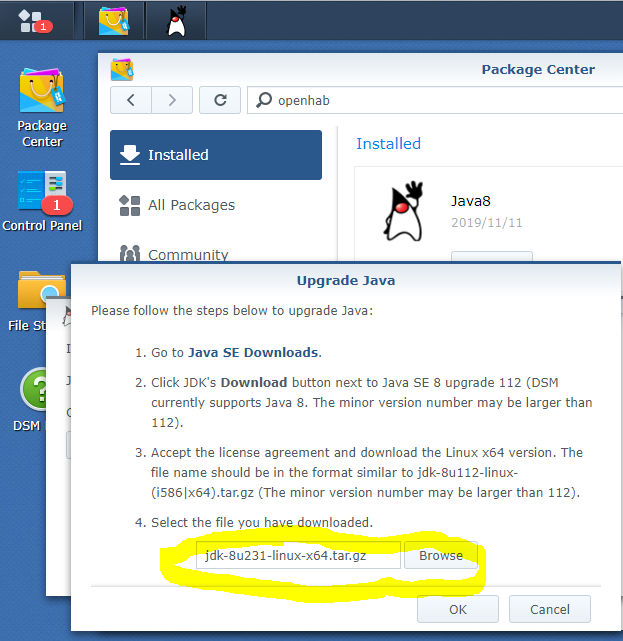
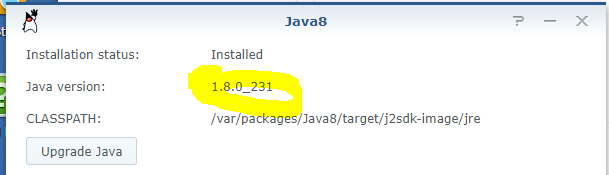
Once installed, upgrade it to the latest version, to be downloaded directly from the Oracle web site :

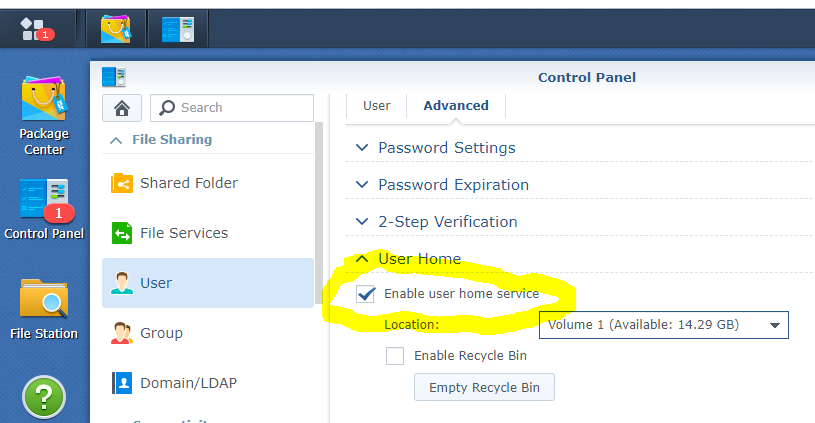
Next, “Enable user home service” via the Menu > Control Panel > User :
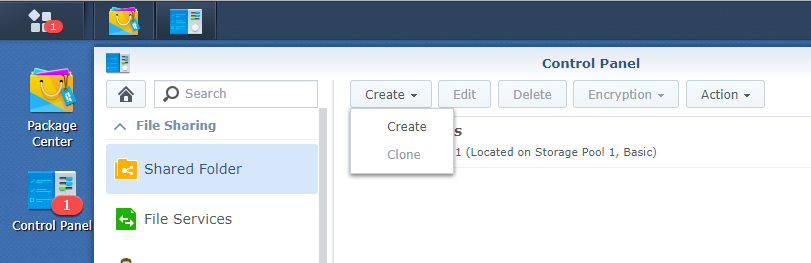
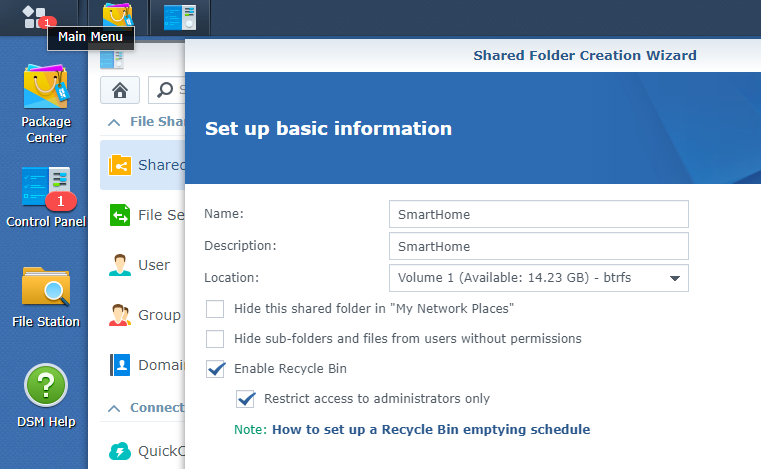
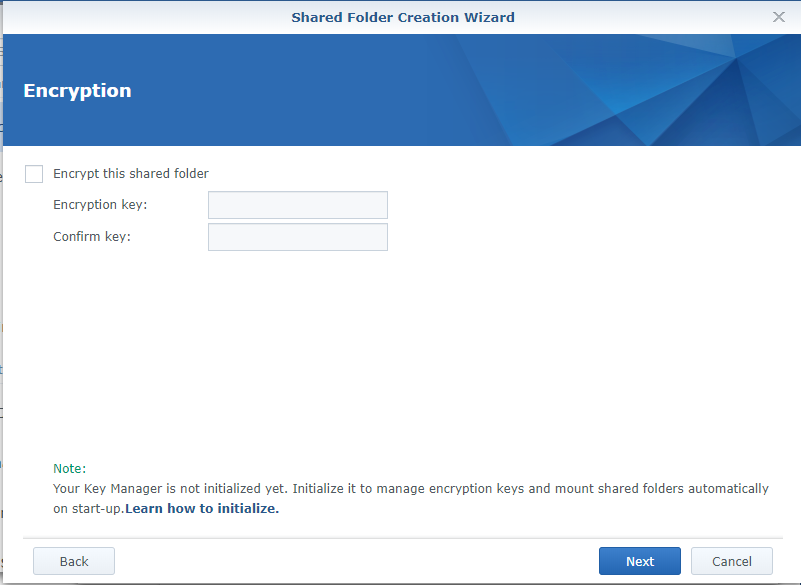
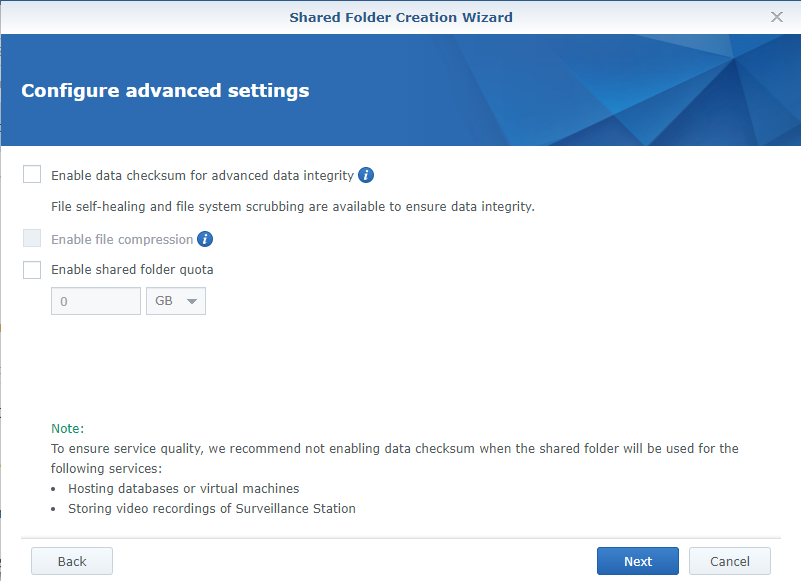
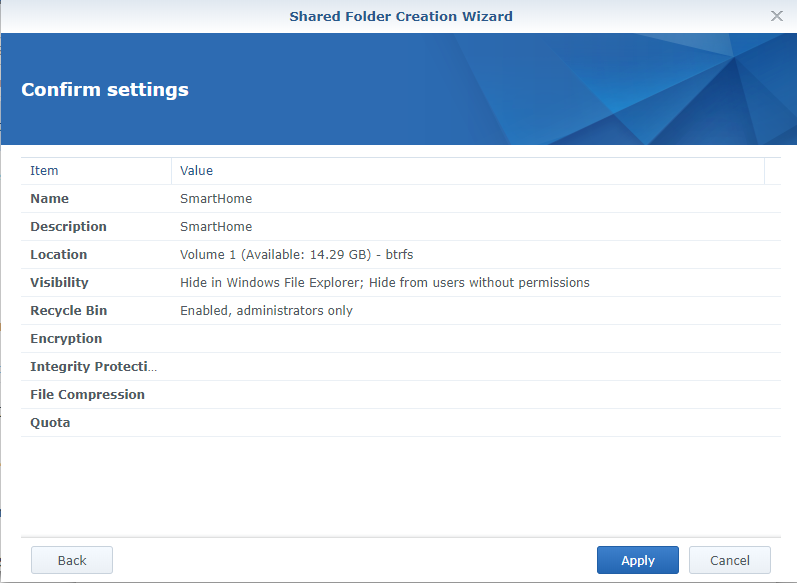
Then, create a Shared Folder “SmartHome” via the Menu > Control Panel > Shared Folder (pay attention to the case!) :
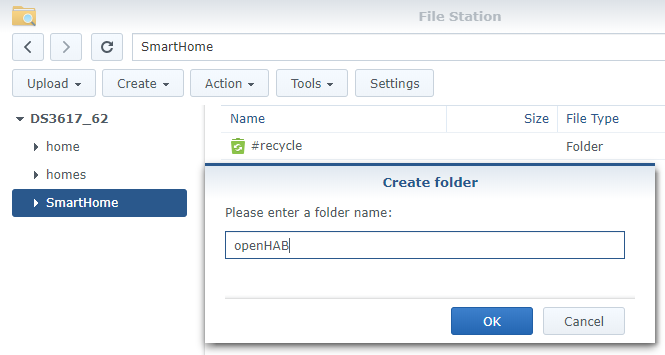
And finally, via the Menu > File Station, create a subfolder “openHAB” in the Shared Folder SmartHome (pay attention to the case!):

Create next the 3 following sufolders under ‘openHAB’ : ‘addons’, ‘conf’ and ‘userdata’. If you don’t create those subfolders, they will be created in ‘/var/packages/openHAB/target’ and you won’t be able to access them via the Shared Folder SmartHome. Hence, you won’t be able to edit the configuration files easily later…
Installation
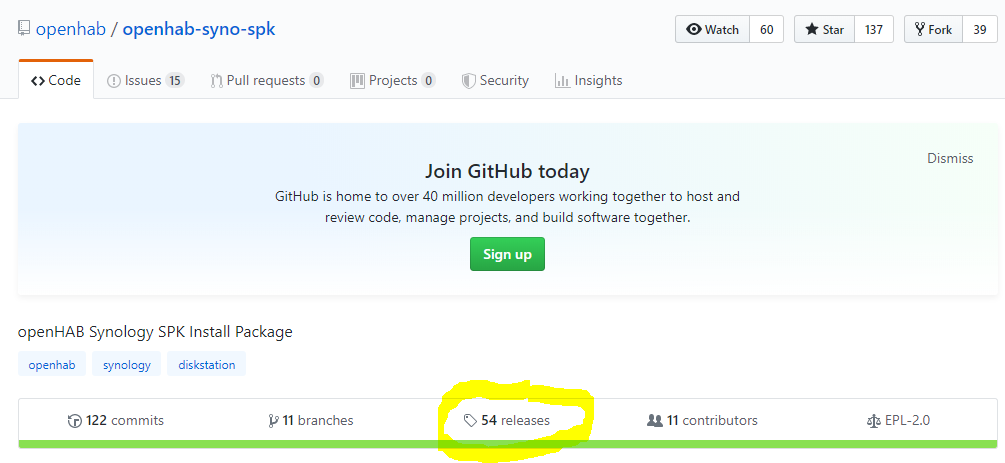
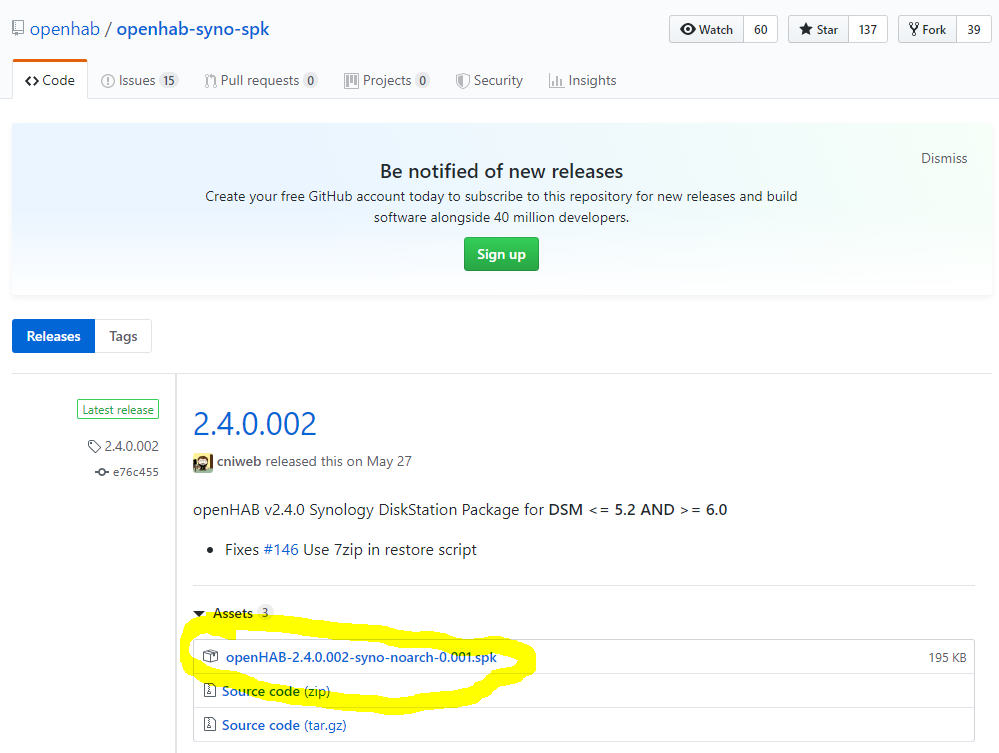
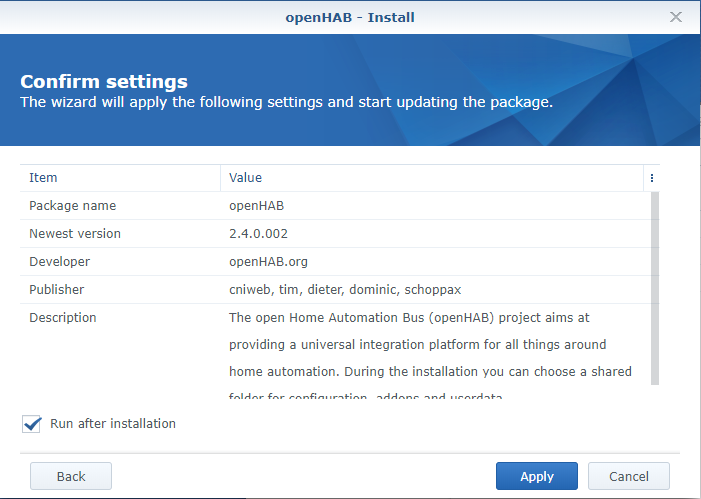
Download now the package “OpenHab 2” from its GitHub Repository :
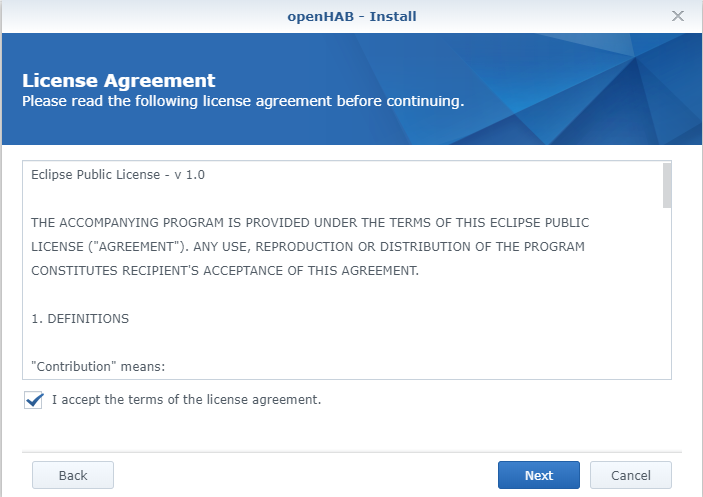
And install it manually via the Package Center :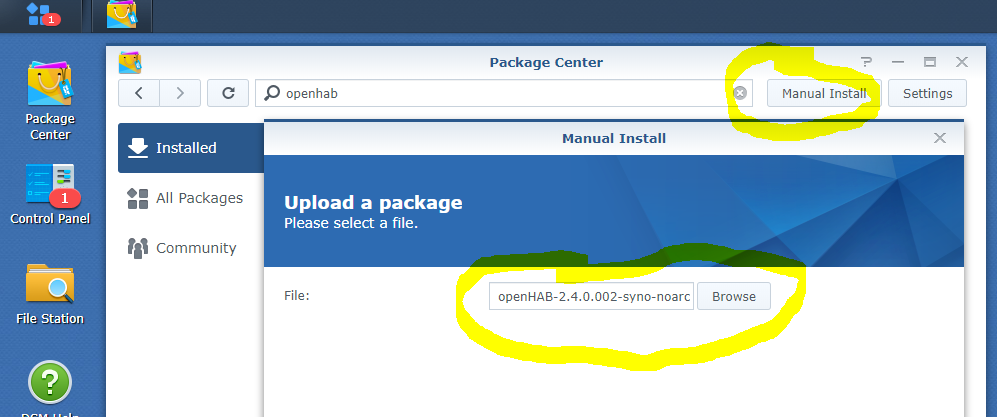
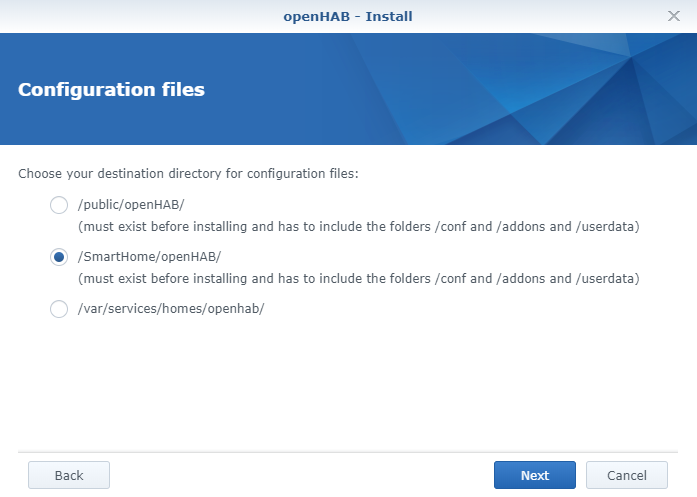
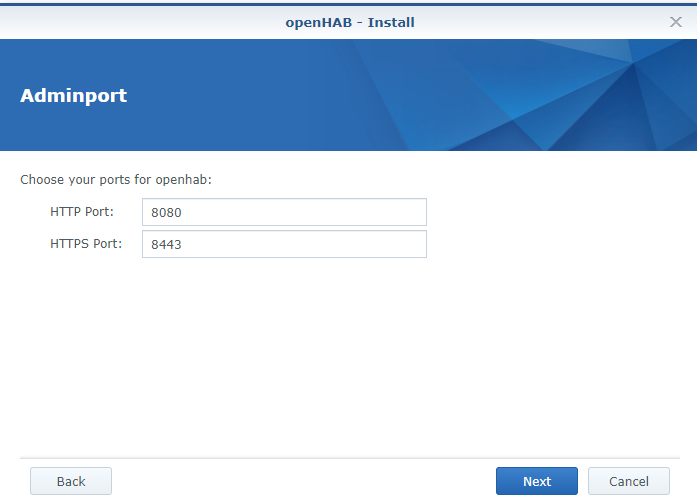
 Use the subfolder “openHAB” created on the Shared folder “SmartHome :
I did install the Z-Wave module as I have a Z-Wave key installed on my Synology :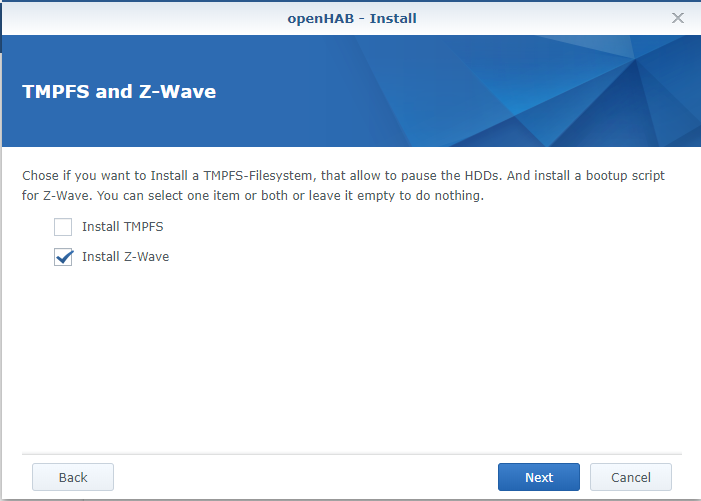
Once installed, check that you see the following content in the folder “openHAB” of the Shared Folder “SmartHome” :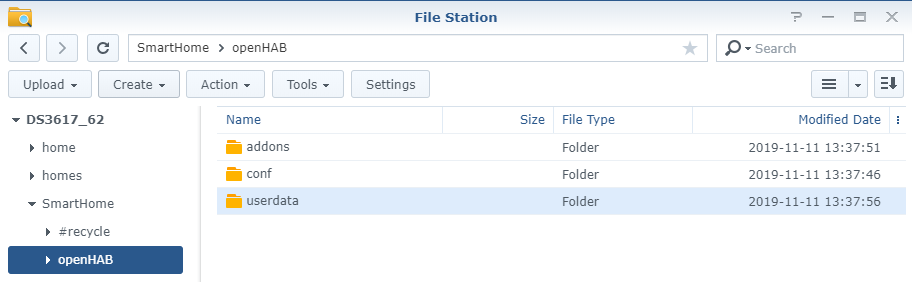 You should also have the following content in the folder “openHab” of the Shared Folder “homes” :
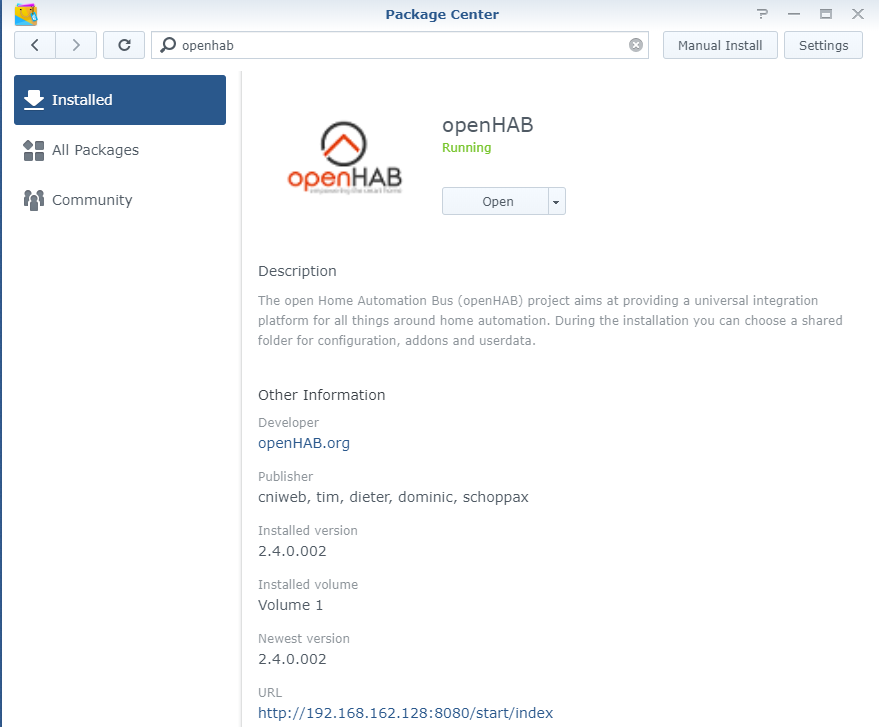
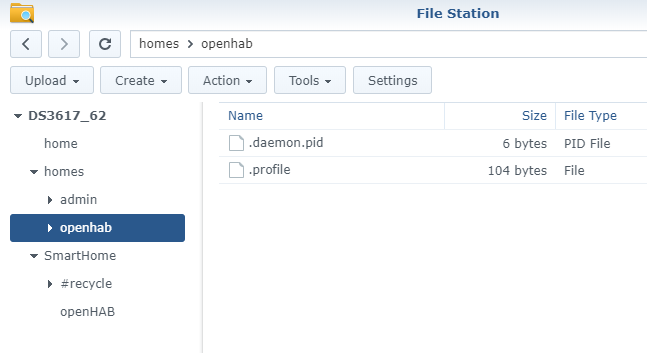 Finally, check that openHab is running fine and finalize the setup by opening the Package “openHAB” via the Package Center > Installed > OpenHAB. There, click on the “Url” at the bottom of the screen :
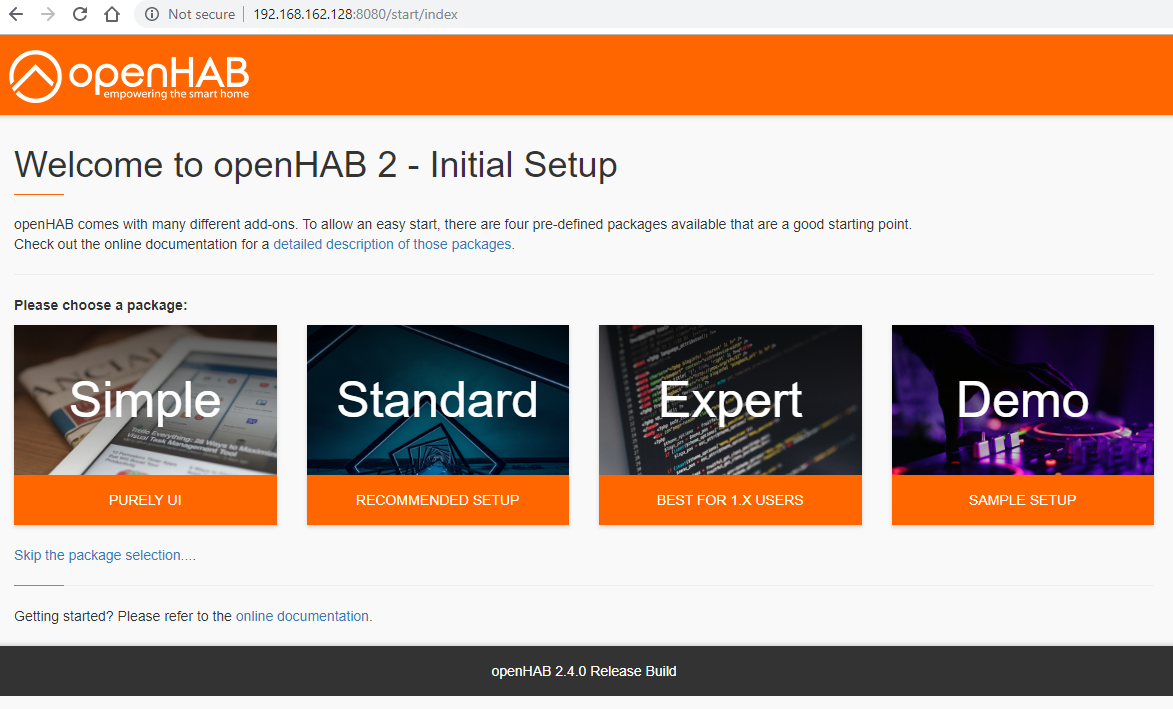
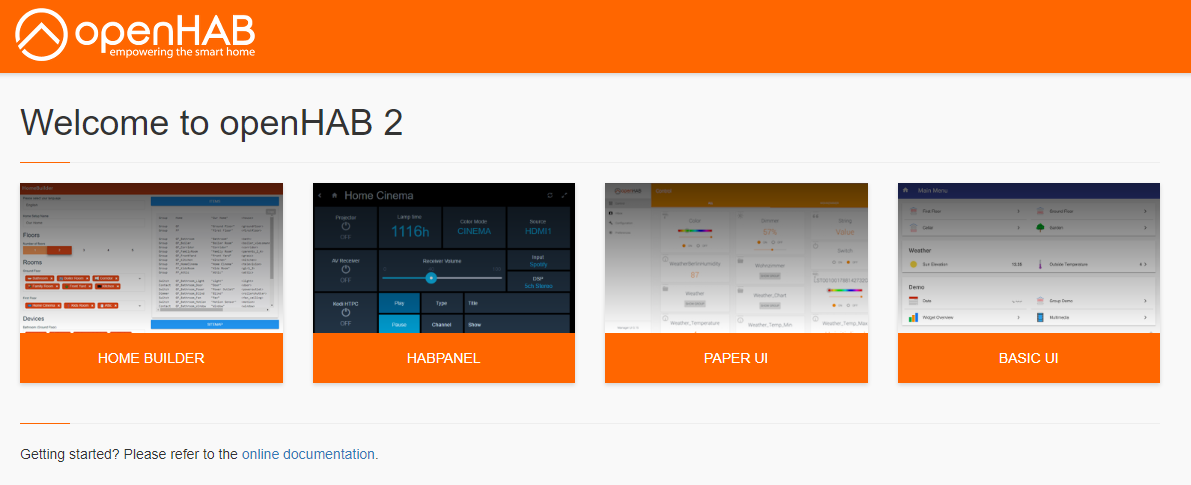
A new tab should open with a page where you can select a pre-defined configuration. I am using the “Standard” one :
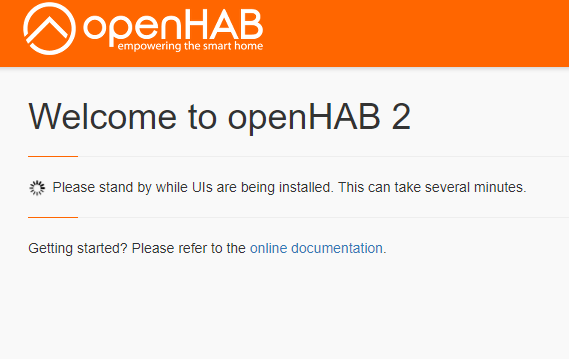
Et voilà :
You can now proceed further with the configuration, as explained here.
![]()
Leave a Reply