Setup DSM 6.2.2 in a Virtual Synology DS918+ using VMWare

Here is a step by step “How-To create a Virtual Machine to emulate a DS918+ running DSM 6.2.2” using VMWare and Xpenology

Click to Read More

Xpenology is a bootloader for Synology’s operating system which is called DSM. It can be used to setup DSM on a PC or in a Virtual Machine like VirtualBox or VMWare.

I am using VMWare 15. But any version from VMWare 11 should work.


1: Download and unzip this package, containing:

  • the configuration of the virtual machine (dsm.ovf, dsm.vmx, disk.vmdk and synoboot.vmdk),
  • the xpenology boot file for DS918+ (synoboot.img) and
  • the image of the DSM 6.2.2 for DS198+ (DSM_DS918+_24922.pat)

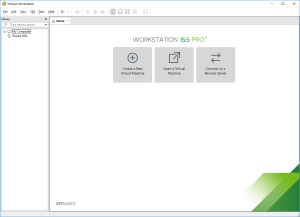
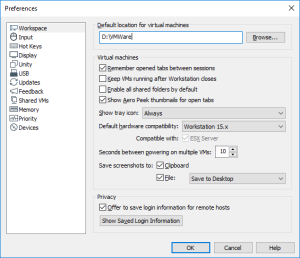
2: Open VMWare Workstation. If you never configured the default location where you want to create your Virtual Machines, press CTRL-P to open the “Preferences” panel. There, set this default location (I am using D:\VMWare).

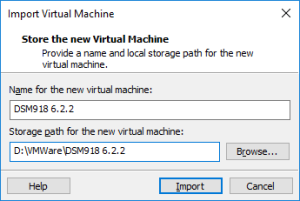
3: Go next to “Windows Explorer”, in the folder where you have unzipped the package, and double click dsm.ovf. This is going to import the VM into VMWare. Type a name for the new virtual machine (I am using DSM918 6.2.2) and click “Import”.

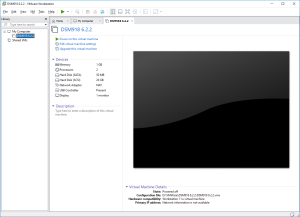
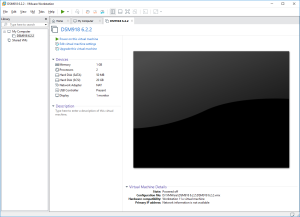
4: Here is the outcome to the importation. You can now click on “Power on this virtual machine”. If you want, you may also first increase the Memory, the Processors or the size of the SCSI Hard Disk (Do not touch the SATA Hard Disk which contains the boot loader).

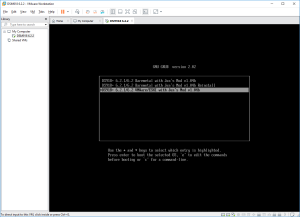
5: As soon as you have run the VM, click into hit to let it capture the keyboard, and press the “down arrow” to select the loader for “VMWARE/ESXI” (attention, you don’t have a lot of time to start the selection). Press next Enter and it will boot.

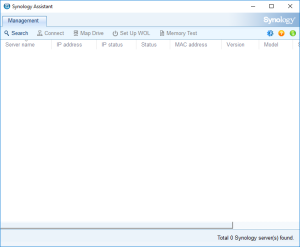
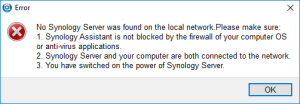
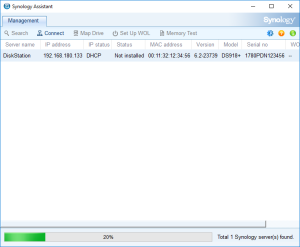
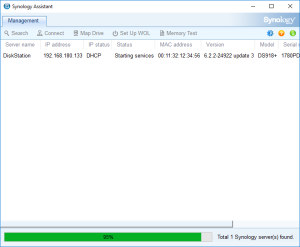
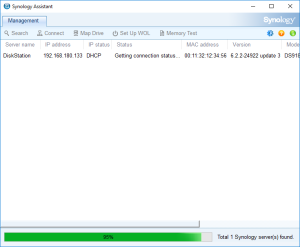
6: Open the “Synology Assistant”, which is more efficient than the page http://find.synology.com to find your VM, and after 1 minute click on “Search”. If you didn’t wait long enough, you will see an Error message (In such a case, click Search “Again”. I never had to do this more than 3 times).

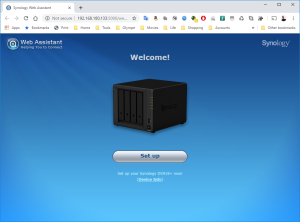
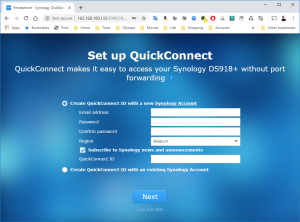
7: Finally, the Assistant will find your VM. A webpage should automatically open (Otherwise, right click on the VM and select “Install”). Click on “Set up” in that page.

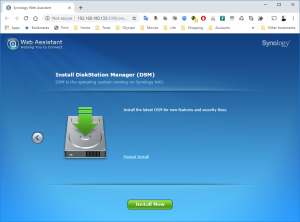
8: Click next on the link “Manual Install”.

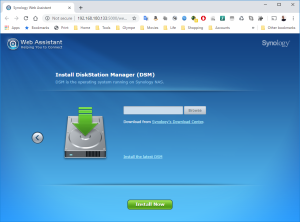
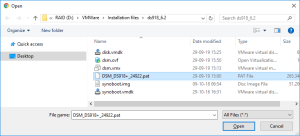
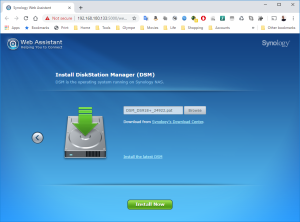
9: Click on Browse to select the image of the DSM 6.2.2 for DS918+ and Select the file “DSM_DS918+_24922.pat” in the folder where you unzipped the package downloaded here previously.

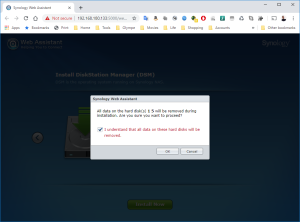
10: Finally, click on “Install Now” and confirm that the installation can override the disk… it’s the virtual SCSI Hard Disk member of the VM. No worry 😉

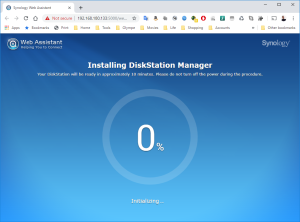
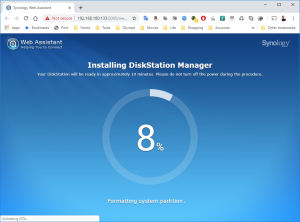
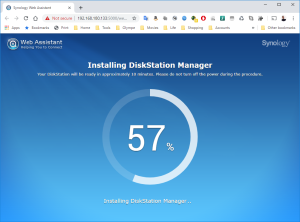
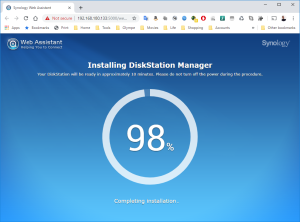
11: The installation will take a few minutes

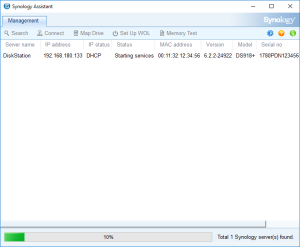
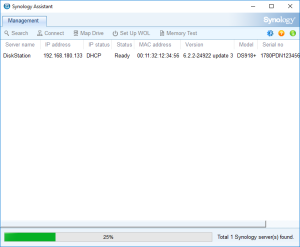
12: Once the installation complete, you will see in the VMWare Workstation that the VM is rebooting. On the installation page, you see a countdown. If you want to check the status of the VM, you can go back to the Synology Assistant and Click Search. You should see that it’s restarting, installing patches, reconnecting and finally ready. At that moment, you can select the VM and click Connect.

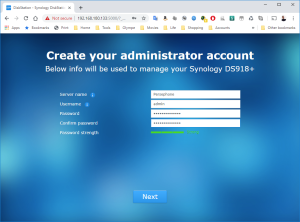
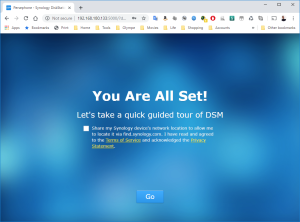
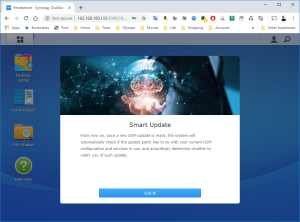
13: You will now be able to login into the VM and configure it.

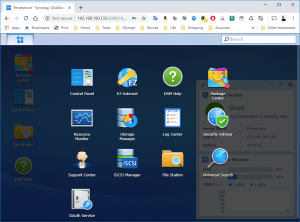
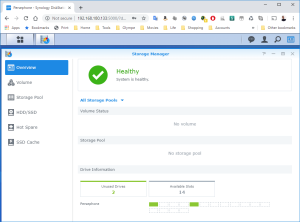
14: It’s now time to use the SCSI Hard Disk to create a first Volume. Open the DSM Main Menu and start the Storage Manager.

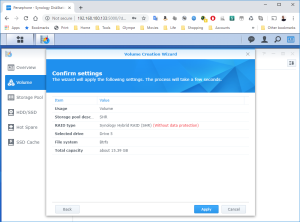
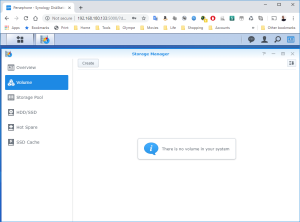
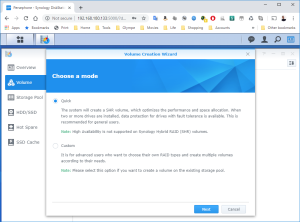
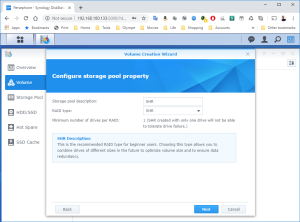
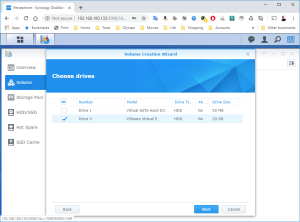
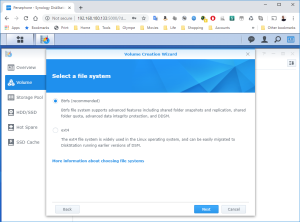
15: Go to Volume and click Create. Select the HDD of 20GB, etc…

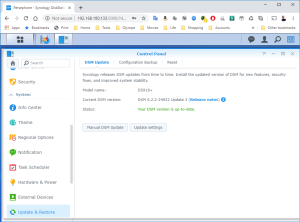
16: You have now a brand new DS918+ with the DSM 6.2.2-24922 Update 3.

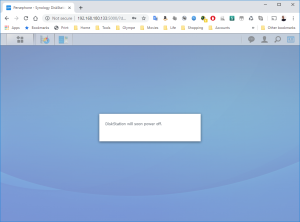
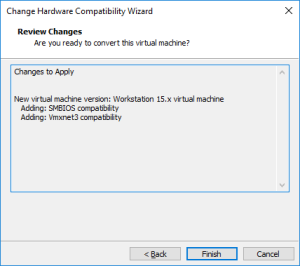
17: Now, you can upgrade the VM to your version of VMWare. Shutdown the DSM Properly (via the menu on the Buddy Icon in the top-right corner). The VM will soon stop.

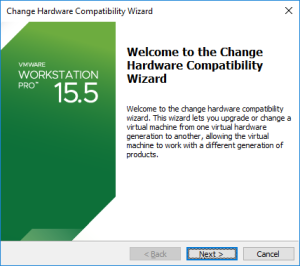
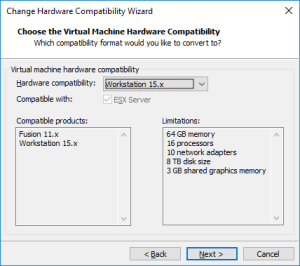
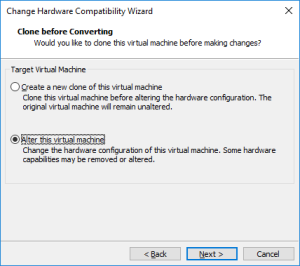
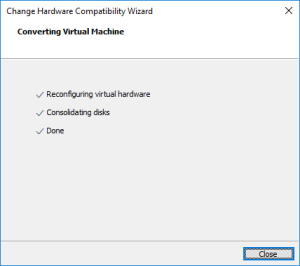
18: Once the VM stopped, upgrade it by clicking on “Upgrade this virtual machine”.

Et voilà !

Loading


Categories:


Comments

27 responses to “Setup DSM 6.2.2 in a Virtual Synology DS918+ using VMWare”

  1. Dave Avatar
    Dave

    Just wanted to say Thanks. Well done. I am experience with bare metal install but moving to VM.

  2. Andre Avatar
    Andre

    Great article. I use vmware fusion instead of Workstation and it works great. Gives me the opportunity to try some different configurations and apps without touching my Synology.

  3. Dan Avatar
    Dan

    This works on Haswell or newer CPUs. It does not work on older models.

    1. 3409ref Avatar
      3409ref

      I have an Ivy bridge I’m wanting to try this on – what creates the restriction? Is it an issue with VMWare or is there a CPU feature missing in older CPUs that it requires?

  4. Vernon Avatar
    Vernon

    Hi
    Im excited to get started with this project. I am familiar with Xpenology (bare metal) but have no experience with VM. So, I have a question from the start; Can I use the free version of VMWare (I’m presuming that Player is the free version) or do I need Pro?

    Thanks for the effort on this. The “package” is particularly nice!

    vm

    1. Valery Letroye Avatar

      Yes, the VM’s can be run with the Free “VMWare Workstation 15.5 player”.

  5. Kev Yates Avatar
    Kev Yates

    Hi,
    I am using VMWare Fusion v11, does anyone know why I am stuggling to install the DSM OS?

    Error:
    Failed to format disk. (35)

    1. Valery Letroye Avatar

      I have no Mac to test with VMWare Fusion. It must be a parameter of the disk, such as IDE vs SCSI vs SATA… Or possibly the size of the disk being to small…
      Look also possibly at the screenshots to install XPENogogy within VMWare Fusion on this blog : https://ithinkvirtual.com/2016/04/30/create-a-synology-vm-with-xpenology/

    2. Kaniel Outis Avatar
      Kaniel Outis

      I had the same issue and it was because i didnt select the loader for “VMWARE/ESXI”. Step nº5. Check that.

    3. Sam Avatar
      Sam

      Are you selecting “SATA HDD” while adding Hard disk in the VM? Only SATA type allowed.

  6. Peter Avatar
    Peter

    Many many thanks. A up-to-date Synology virtual to test.

  7. Luke Avatar
    Luke

    I somehow can’t find the NAS with synology assistant or through web browser. There are no error with the import part either. I’m really confuse.

    1. Valery Letroye Avatar

      It can take minutes… I presumed you clicked on the “Search” several times to ‘double check’ ?

      Synology Assistant is using UDP ports 9999, 9998, 9997. If you know the IP address of your VM, you can test those ports ‘manually’ using netcat (Ex. on linux: nc -v -u -z -w 3 9997-9999). Netcat will reports which ports does not respond. But I am 99.9% sure the Assistant with not fail to detect the ports if they are active. Possibly, those ports are blocked by our local firewall ? Temporarily disable it or google for “VMWare ports blocked by windows firewall”. If nothing prevent the assistant to contact those ports, then the VM is not working and it’s really difficult for me to guess why.

  8. majid Avatar
    majid

    hello and greeting

    i need a boot loader .iso file for booting my synology ds3617xs

    please help for that

  9. Rhandyx Avatar
    Rhandyx

    I think I have a problem on my vmware workstation 16 I not know whats happens but I never found with synology assistant It stop works I have reinstall, I make same process on VirtualBox and works.

    1. Valery Letroye Avatar

      I didn’t test with VMWare 16 yet. So I have no experience with that version…

  10. Nuno Avatar
    Nuno

    Is my vmware . I INSTALL on my notebook and it works

  11. nstr Avatar
    nstr

    Well done ! Thank you !

    Followed the steps and it also works on esxi 7.0 ! For those who what to ran it on esxi and allow dsm to manage the disks itself either use a dedicated SATA controller and passthrough the controller to esxi or use raw disk mapping as instructed here: https://kb.vmware.com/s/article/1017530 , the disavantage for the later is that it cannot use tHDD SMART function. The advantage for both is that you can plug out the disks from the esxi machine and throw them into a real synology nas and should work.

    Before finding your explanations I tried to set it up from scratch, but I had troubles creating a working vmdk from the xpenology bldr image. Please could you tell me which tool you’ve used to create the vmdk ?

    1. Valery Letroye Avatar

      Wow… no, no, I did not create the vmdk myself 😀
      It comes from https://xpenology.club/downloads/
      I mainly spent time on creating the dsm.ovf file which makes the instantiation in VMWare more straightforward.
      I also did mount the synoboot.img partition 0 with osfmount x64 to fine tune the grub config (https://www.osforensics.com/tools/mount-disk-images.html)

      1. nstr Avatar
        nstr

        I see .. thanks !

        It seems I messed it up and always ended up having an img which I was not able to properly convert to an esxi usable vmdk although I was able to convert and use it but only in virtualbox.

  12. Oliver Avatar
    Oliver

    Works great in Workstation 15 Pro. I tried to implement a second instance but seems that the MAC address of the vNIC is hardcoded. Both instances of Xpenology present themselves with the same MAC addr. Is there a way to change the MAC address ? Even if i generate a new MAC addr in workstation, the instance still presents itself with the same MAC addr. Thanks.

  13. Odcar Avatar
    Odcar

    Hello, it works fine but I can buy update, I click update dsm and say there was an error, how.can I update?

    Thanks.

    1. Valery Letroye Avatar

      Do not try to update your DSM in a Virtual Machine… It usually breaks the VM.

  14. Francis Avatar
    Francis

    I can’t import these files into VirtualBox hence I am creating from scratch. What is the MAC address for the NIC used?

    1. Valery Letroye Avatar

      If you still need it, the Mac Address is visible in the screenshot of the Syno Assistant: 00:11:32:12:34:56

Leave a Reply

Your email address will not be published. Required fields are marked *