Here are:
- all my Xpenology packages used to emulate a Synology with VMWare and
- how to customize their Mac Address as well as their Serial Number
Click to Read More
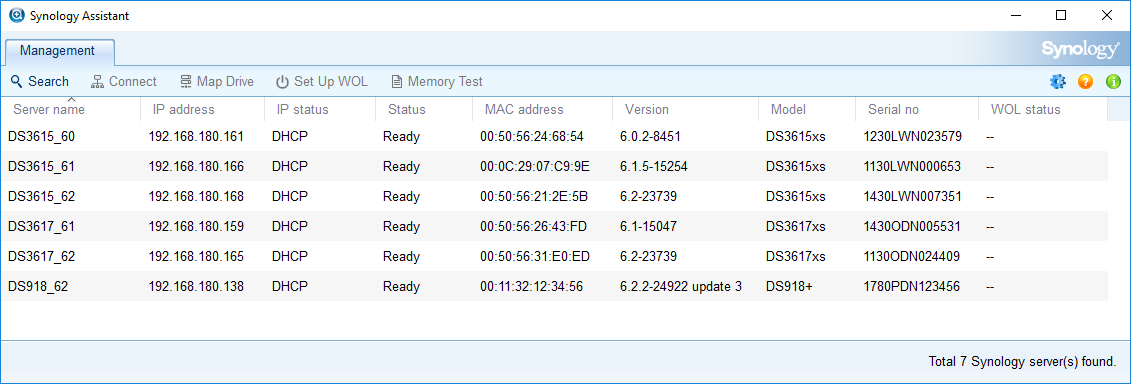
- DSM 6.2.2-24922 update 3 for DS918
- DSM 6.0.2-8451 for DS3615xs
- DSM 6.1.5-15254 for DS3615xs
- DSM 6.2-23739 for DS3615xs
- DSM 6.1-15047 for DS3617xs
- DSM 6.2-23739 for DS3617xs
The DSM images available in the packages above come from these Synology’s archives.
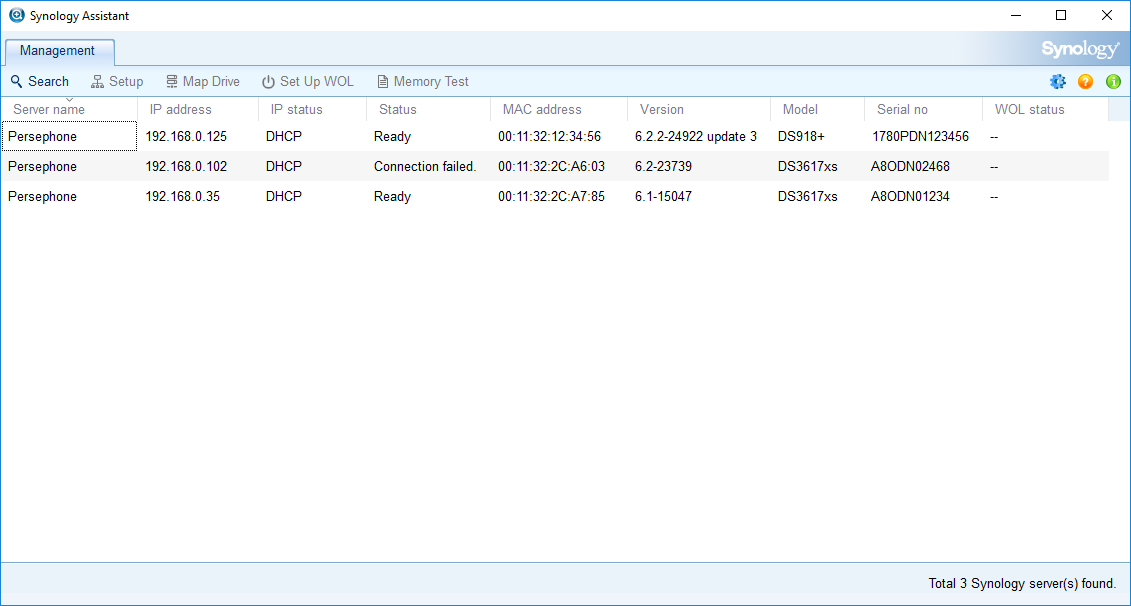
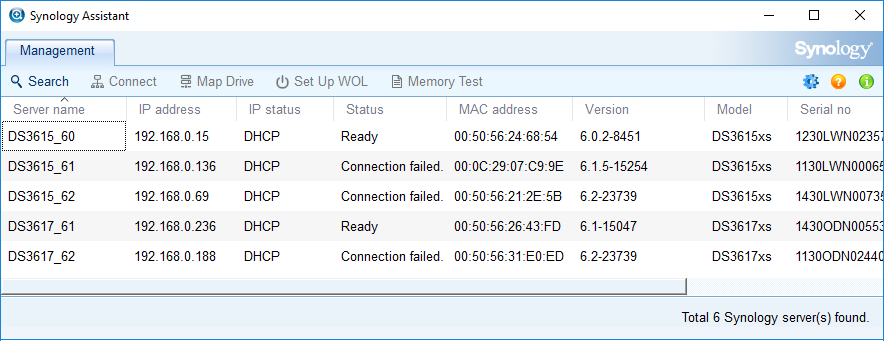
You can find here or here how to create a Virtual Synology with theses packages (Notice I have fine-tuned those, among others to put the disks in the right boot order for the DS3617xs).
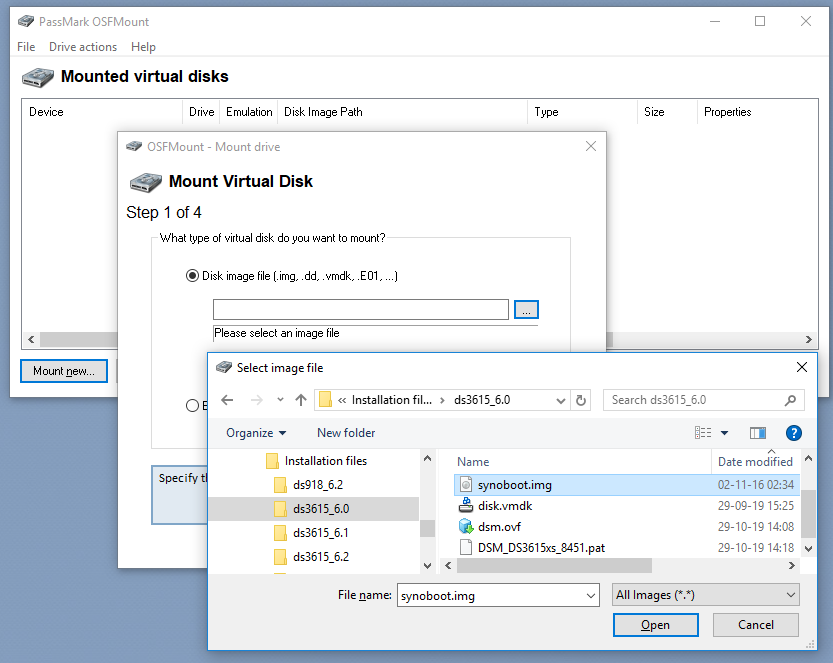
Before importing a package in VMWare, you can update its Mac Address and its Serial to make them unique in your network (E.g.: if you duplicates the images). For that purpose, you need OSFMount, a tool able to update (read and write) the content of .img files.
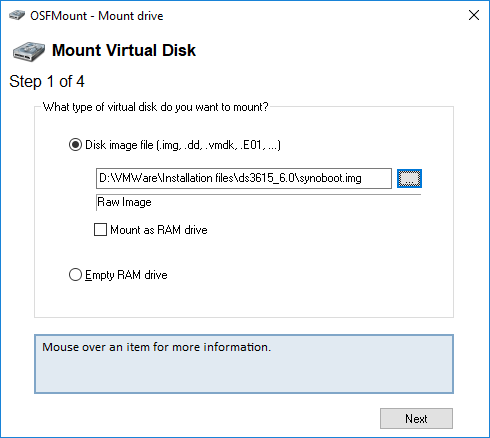
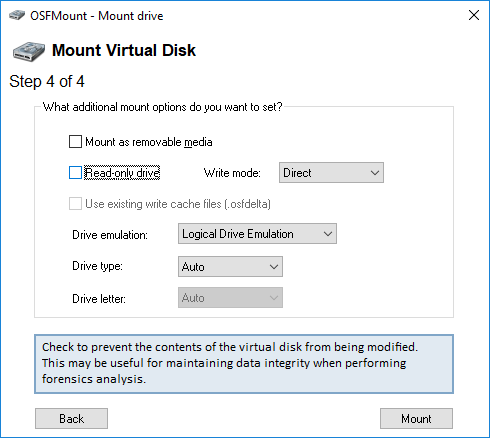
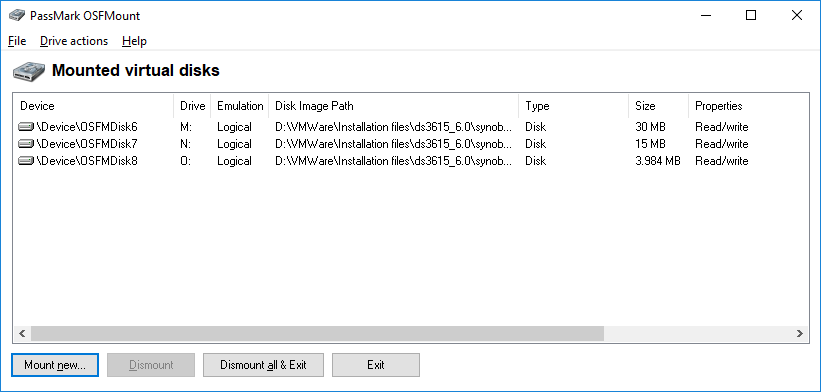
Run OSFMount and open the disk image file “synoboot.img” (Do not mount it as Ram Drive):
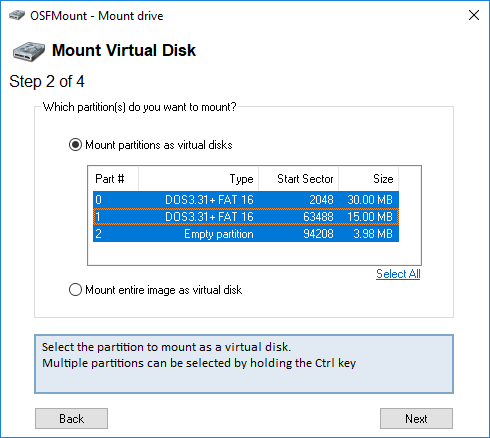
“Select All” the partitions as virtual disks and uncheck the flag “Read-only drive”:
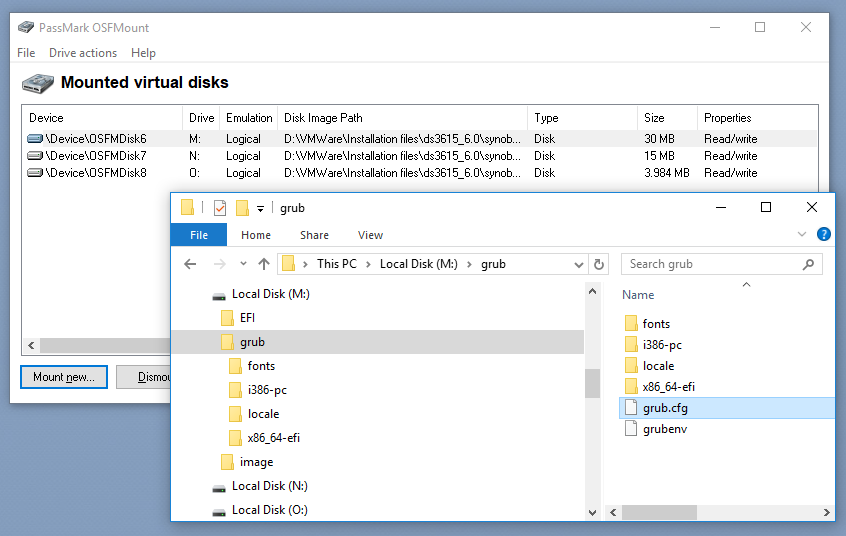
Once opened, double-click on the first drive in the list to open it. It contains the settings to be customized in the file drive:\grub\grub.cfg. Edit that file to change the Serial (set sn) and the MAC address (set mac1):
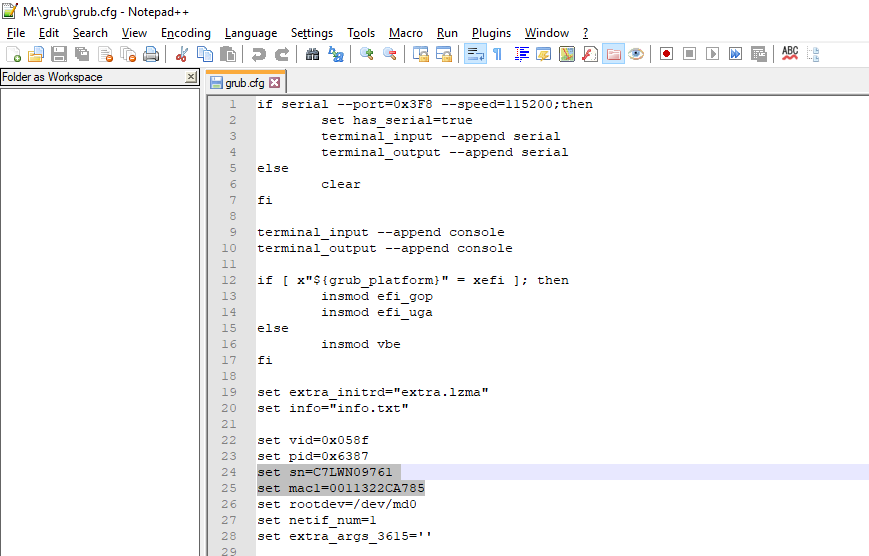
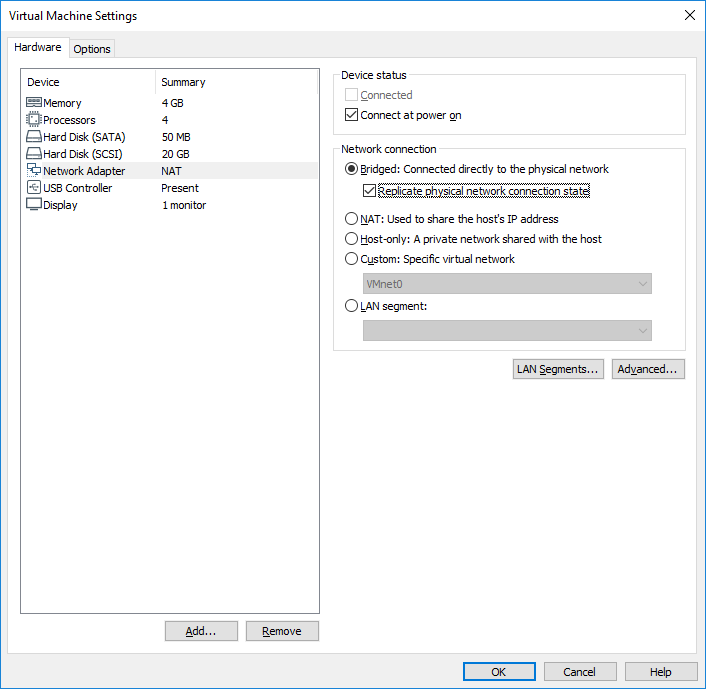
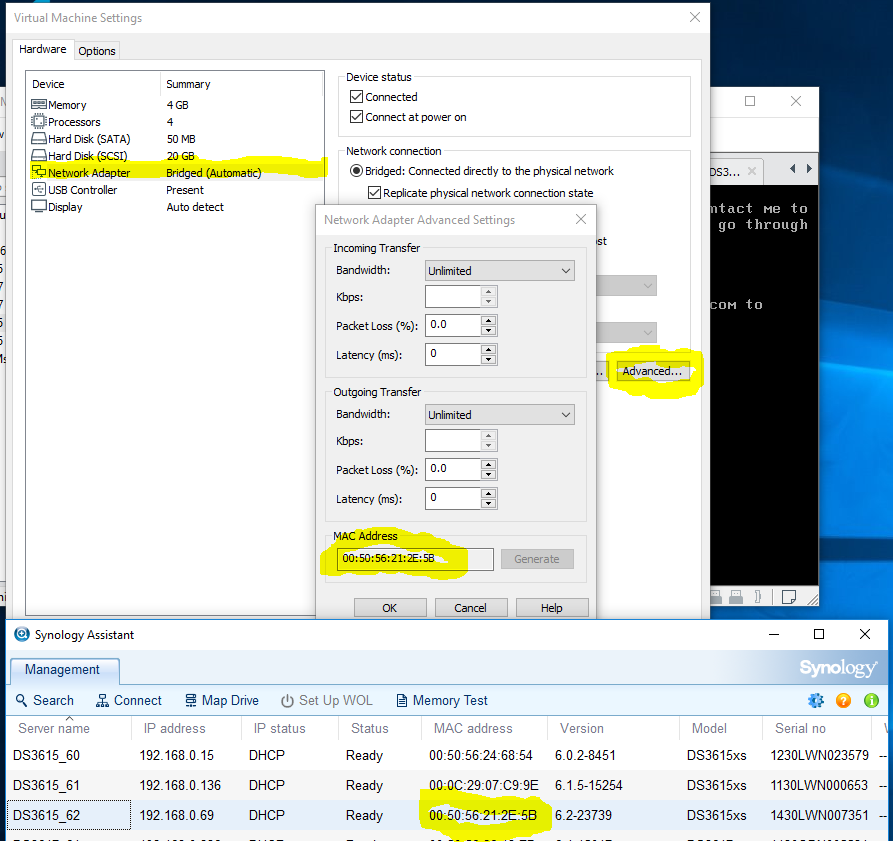
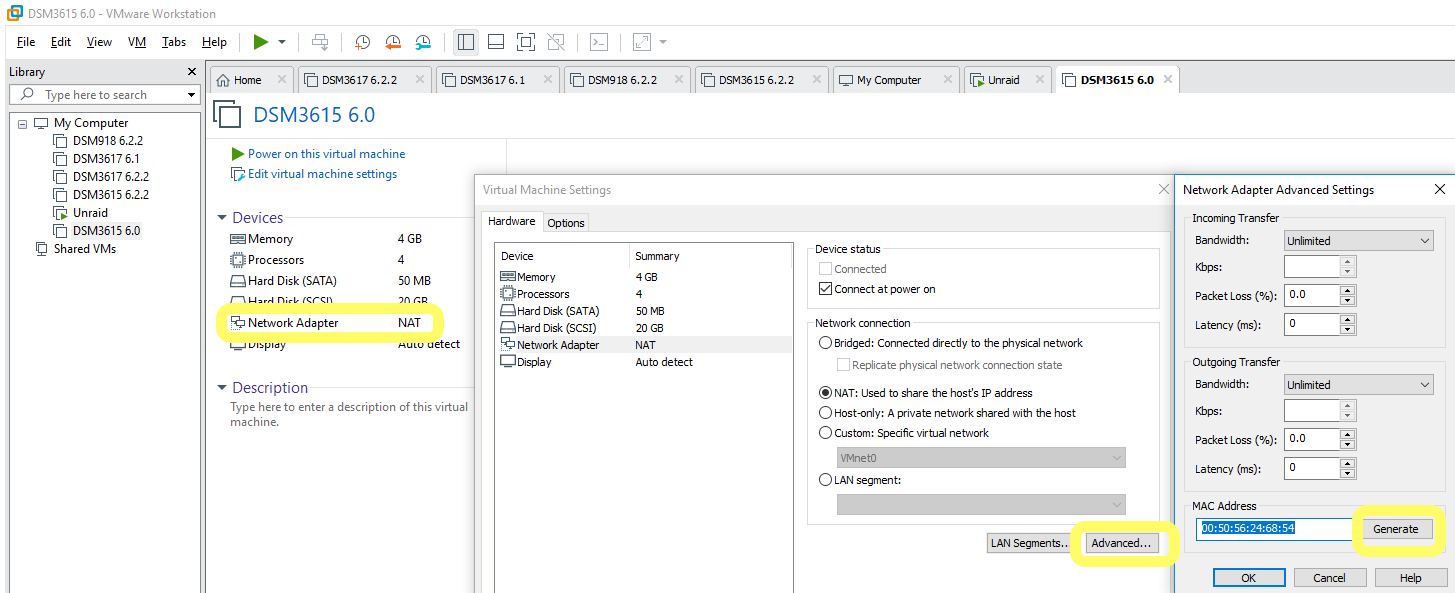
A new MAC address can be generated using VMWare; via a Network Adapter > Advanced > Generate. Click on the button Generate a few times and copy the value in the file above (removing the various semicolons).
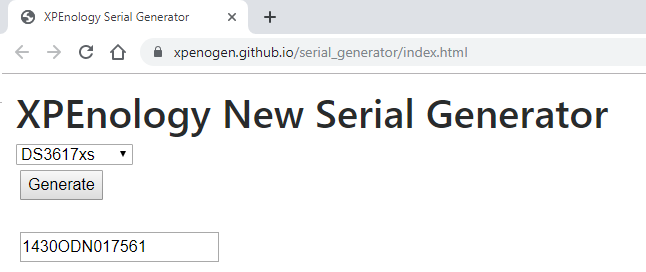
A new Serial can be generated on this site.
Once done with the edition, “Dismount All” the drives in OSFMount. You can now import the virtual machines in VMWare.
Et voilà.
![]()