StorJ is a great solution to backup a Synology NAS with HyperBackup and probably the cheapest (Even if for a less than 1TB I prefer the “native” Synology C2 Storage). But how to browse your backup and recover only a few files? The solution: mount the StorJ’s S3 Bucket on your PC with Mountain Duck (As a Virtual Disk) and use HyperBackup Explorer to browse that “Local Backup” !
Expand to Read More…
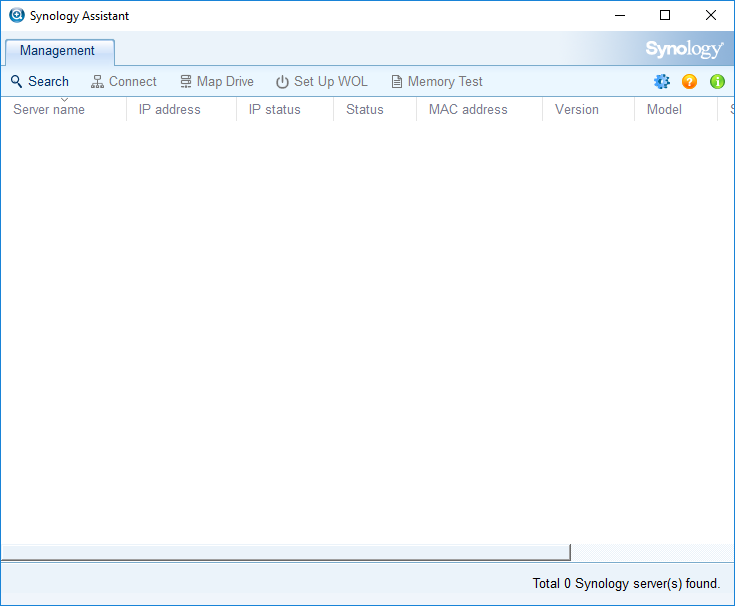
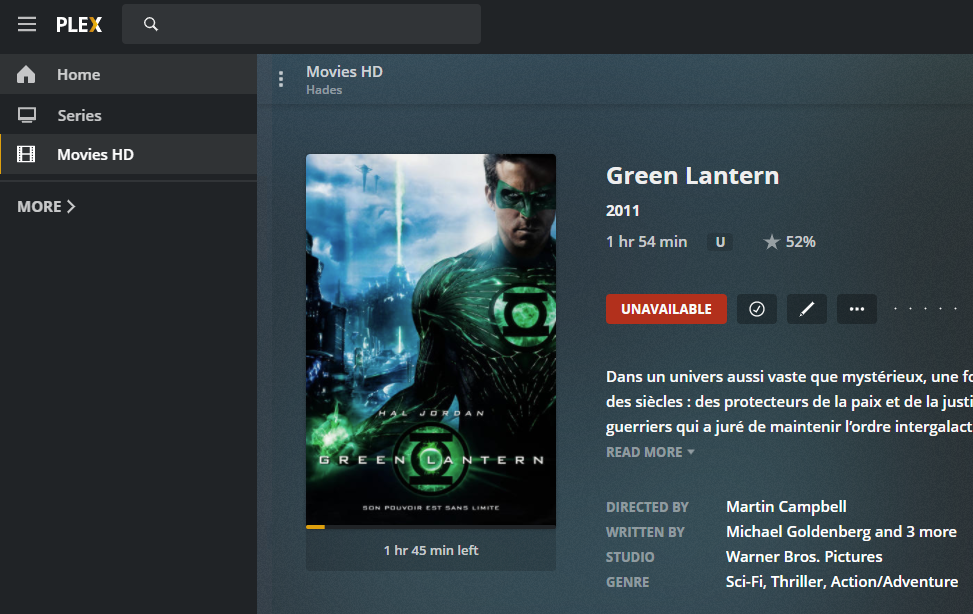
Synology’s HyperBackup Explorer can only browse a local backup or a Synology C2 Storage. It means that, when using a third party S3, you would have to download your full backup locally to be able to retrieve just a few files… (Which cost 7$/TB with StorJ).
Indeed, the actual files (images, video, documents, …) can’t be browsed within a HyperBackup image with a simple S3 explorer (like the free “S3 Browser” or “CyberDuck”). You only find “bucket” parts…
Fortunately, with third party S3 like StorJ (pronounced “Storage”), you can mount the Bucket as a local Virtual Disk on your PC… And then use HyperBackup Explorer. This is great as you easily navigate also the timeline (version) of your files…
First, as I discovered on DrFrankenstrien’s Tech Stuff, here is how to create a StorJ S3 Bucket (you can start a StorJ account with 25GB free for 30 days):
As I am in the EU, I go to this SignUp page:

Confirm your subscription (Attention: the verification email arrived in Gmail’s Spam !!!)

Now select the “PERSONAL” account

Enter your “Name”, choose “Backup & Recovery” and click “Continue”

Click “Start Free Trial”

And finally “Activate Free Trial”


Ok, now that you have an account, you have to create a “Project” with a “Bucket” where you will upload “Objects” from your Synology:
In my case, a default “My Sotrj Project” has been created automatically. My first step was therefore to click on “Set a Passphrase”

I selected to type my own passphrase (it will be requested each time one connect into StorJ’s Dashboard)


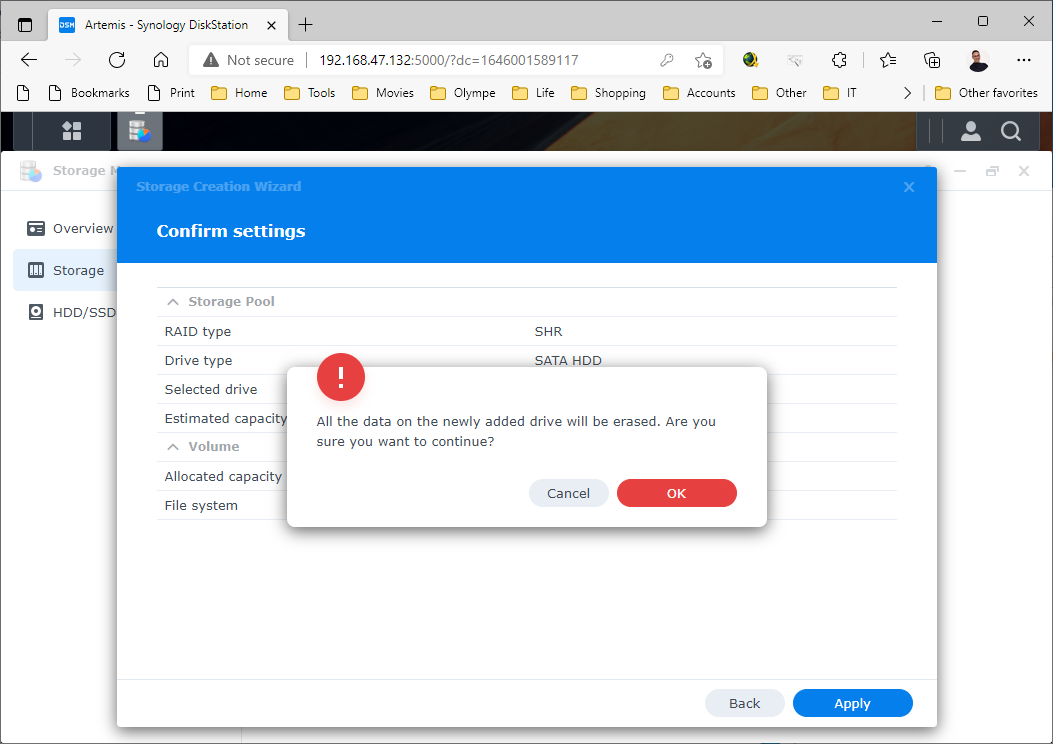
Once the passphrase enters, the next step is to “Create a Bucket”, here named “demostorj4synology”, with the default retention settings applies during the upload (I will let Hyper Backup manager the versioning)


You are now nearly ready to upload Objects…

Now, you have to prepare an API Key and get a Secret Key, which will be used to configured the connection on your Synology

Type an “Name” for this access and select the access type “S3 Credential”. In my case I grant “Full Access” (I.e. HyperBackup will be able to Read/Write/List/Delete).


Once “Access” created, you will have to download or at least copy the “Access Key”, the “Secret Key” and the “Endpoint” in a secure place (not to be shared, obviously) !

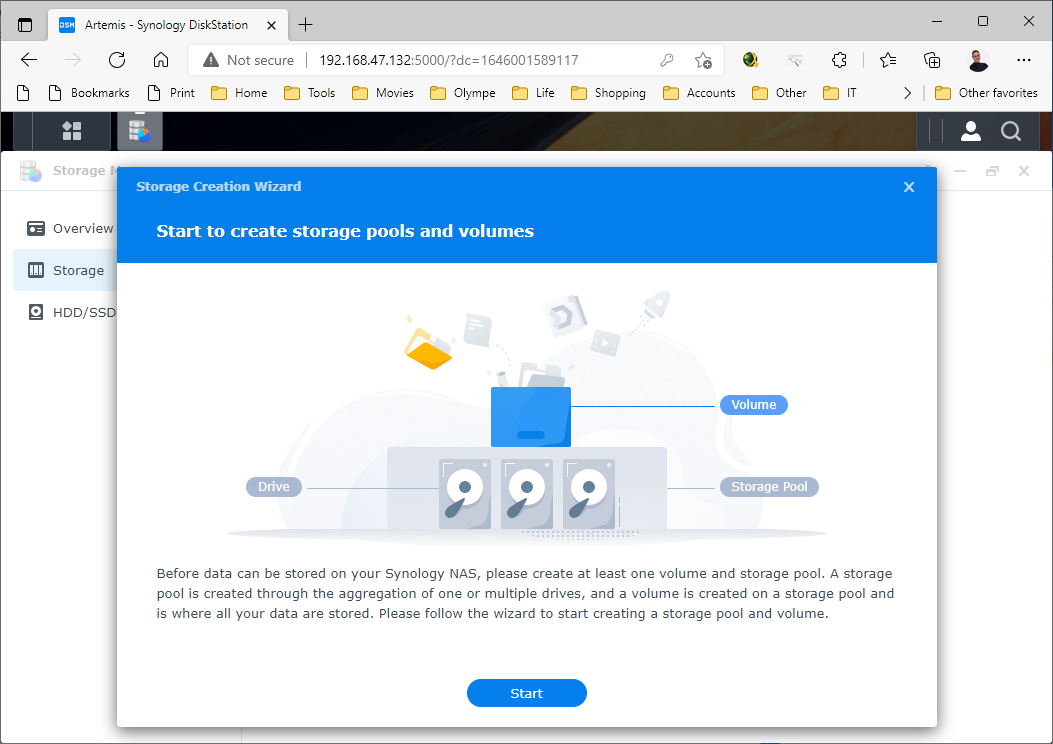
Voilà, your are now ready to go to your Synology and configure Hyper Backup. First step: create a new “Backup” of “Folders and Packages”

You have to scroll down in the next screen to select “S3 Storage”

Now:
- Select “Custom Server URL” as “S3 Server”
- Copy the “endpoint” you got when creating an “Access Key” as Server address
- Select v4 as Signature Version
- Keep Request Style as is
- Enter your Access Key (Here is mine as I will delete it anyway after this demo)
- Enter your Secret Key
- If your Endpoint, Access Key and Secret Key are corrects, you should see your Bucket available as bucket name.

You can now select Folders to be included in your backup as well as Synology Packages (attention that some packages will also include all the files, such as the Web Station that includes the shared folder “web” – or Synology Drive Server that includes the shared folder “homes”)


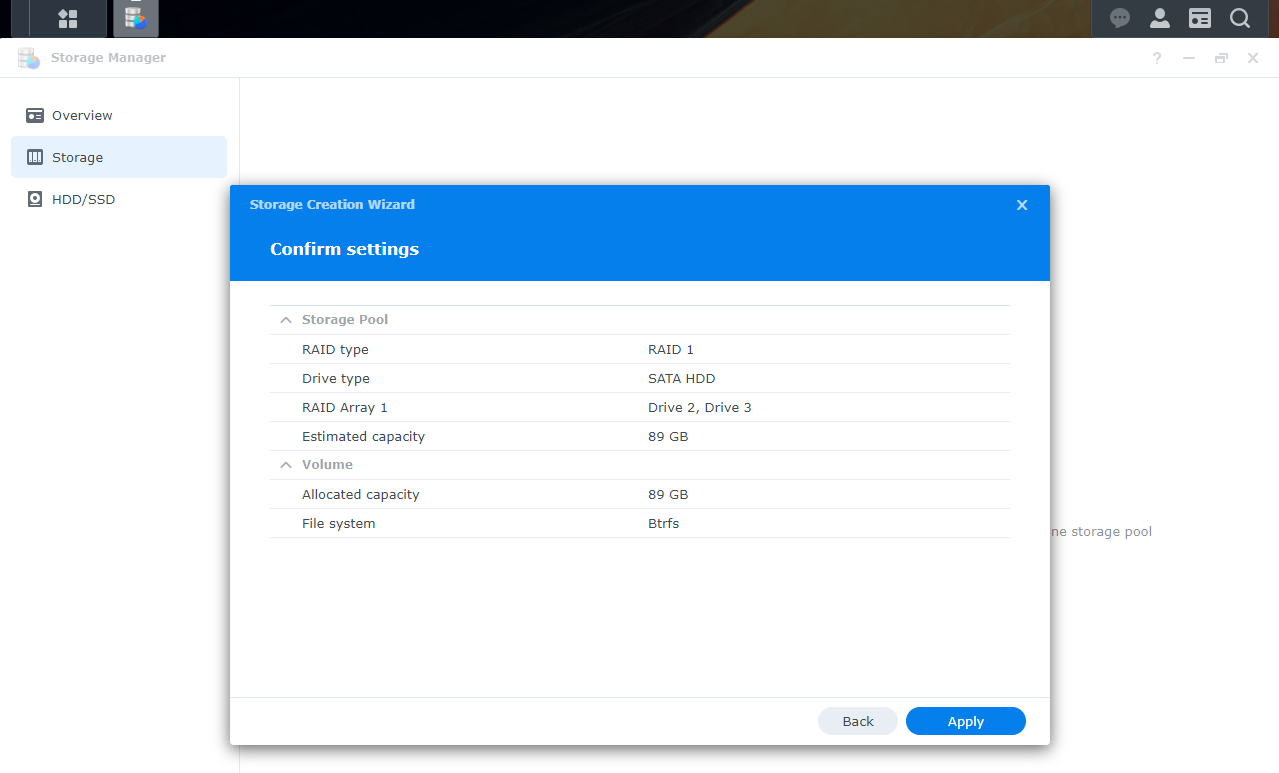
Configure your Backup as you wish, regarding schedule and retention:


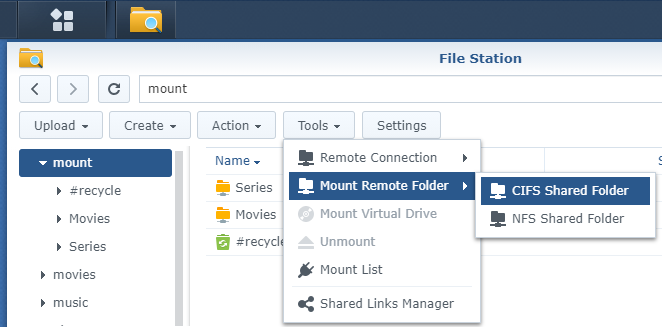
Now that the backup is running, it’s time to look how to mount that backup as a Virtual Disk on your PC, to be able to browse it with HyperBackup Explorer. A free solution exist but is not for beginners: rClone
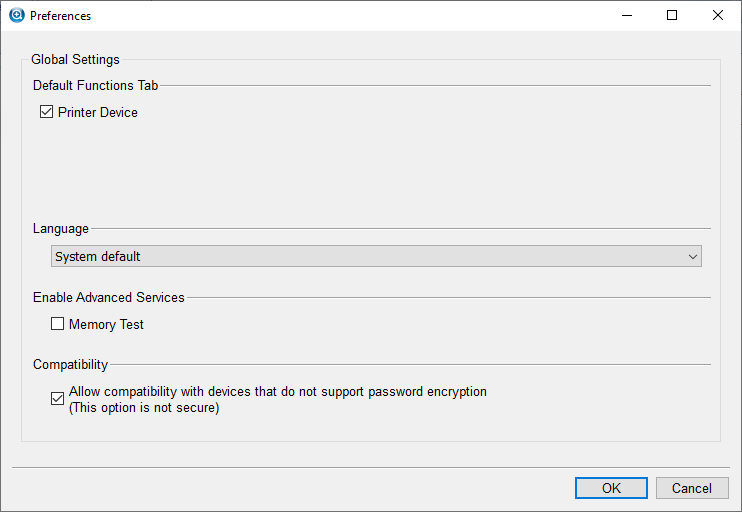
There are a few user friendly tools available for those not confortable with command prompts and scripts… The cheapest is “Mountain Duck“. It’s the one I am using. Here is how to configure it. To make it easier, in the “Preferences”, you can enable the “Storj DCS” profile

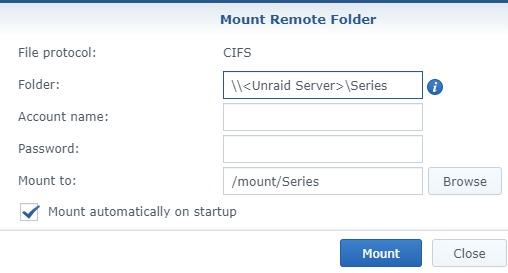
So, now, add a connection

In, the popup windows:
- Select ‘Sotrj DCS’ (or ‘Amazon S3’ if you didn’t enable that profile) for the connection
- Enter a Label. Ex.: StorJ
- in Server, type the Endpoint of StorJ,if not yet displayed (would be the case is you select “Amazon S3” as profile)
- Enter your “Access Key” (uncheck the box Anonymous login)
- Enter your “Secret Key”
- Other parameters are just fine, but you can force the Driver Letter is you prefer…

Just in case you used the “Amazon S3” profile, the labels are different, but the config is the very same:

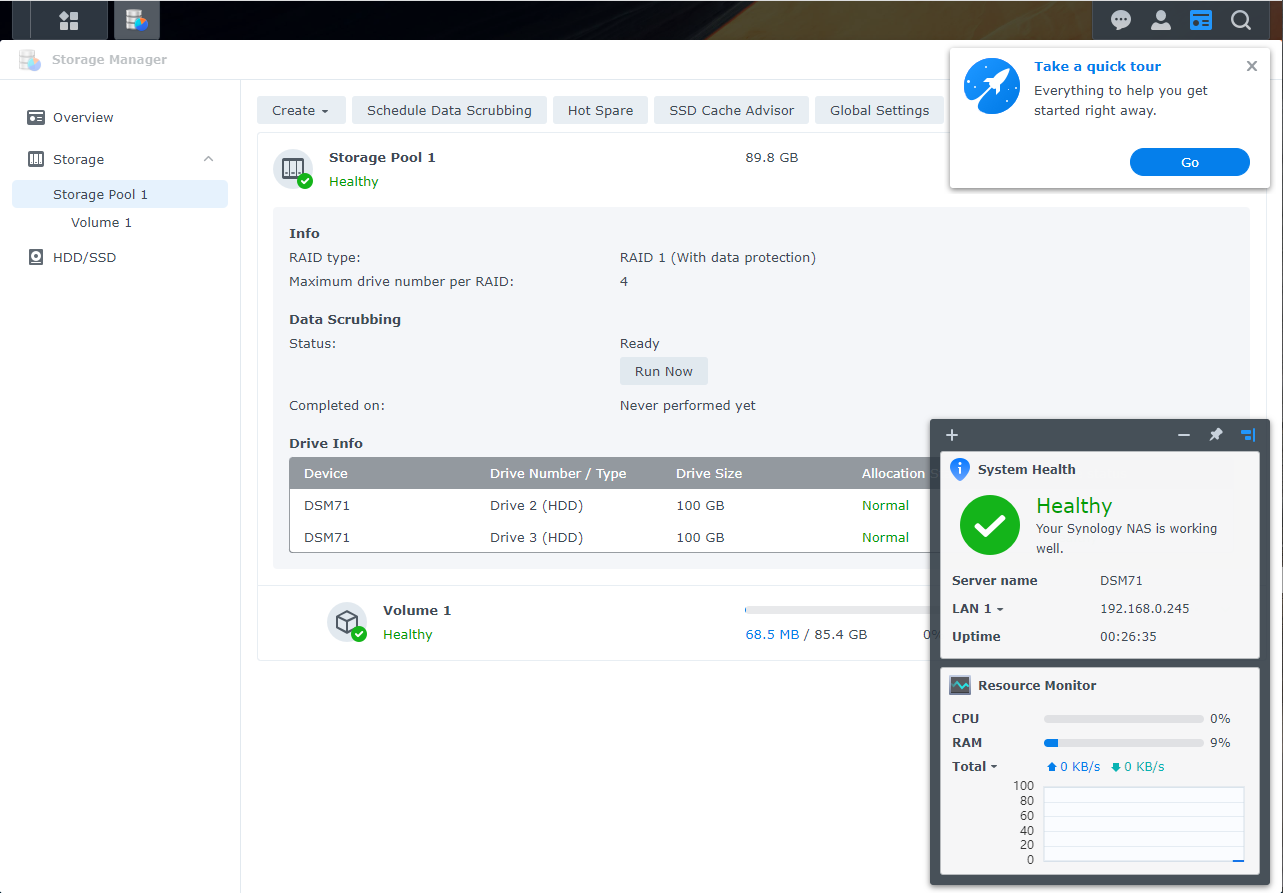
Now, you should see a Disk R: mounted on your PC, exposing the Bucket from your StorJ S3.
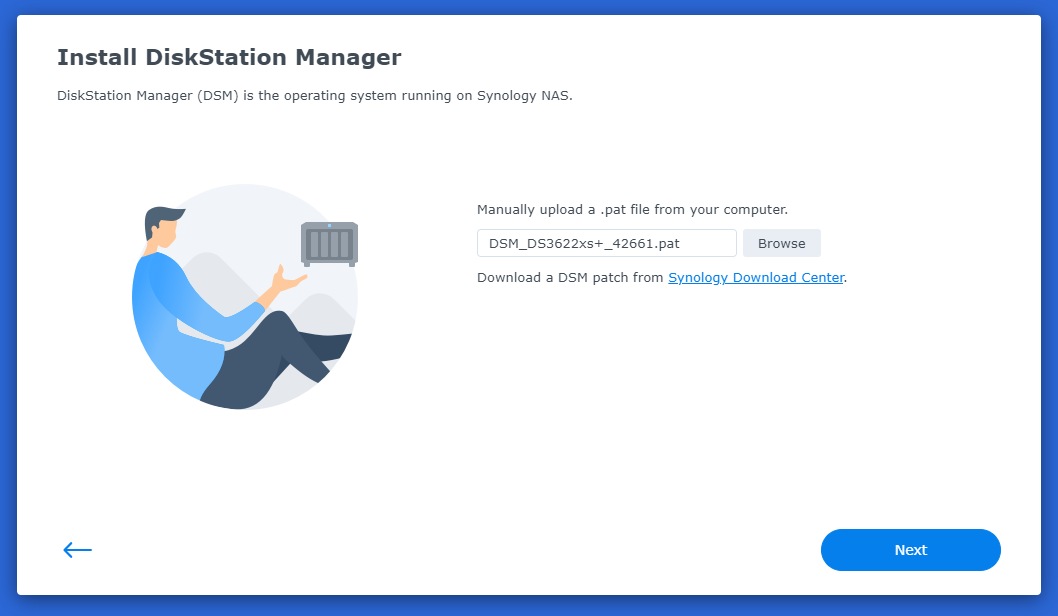
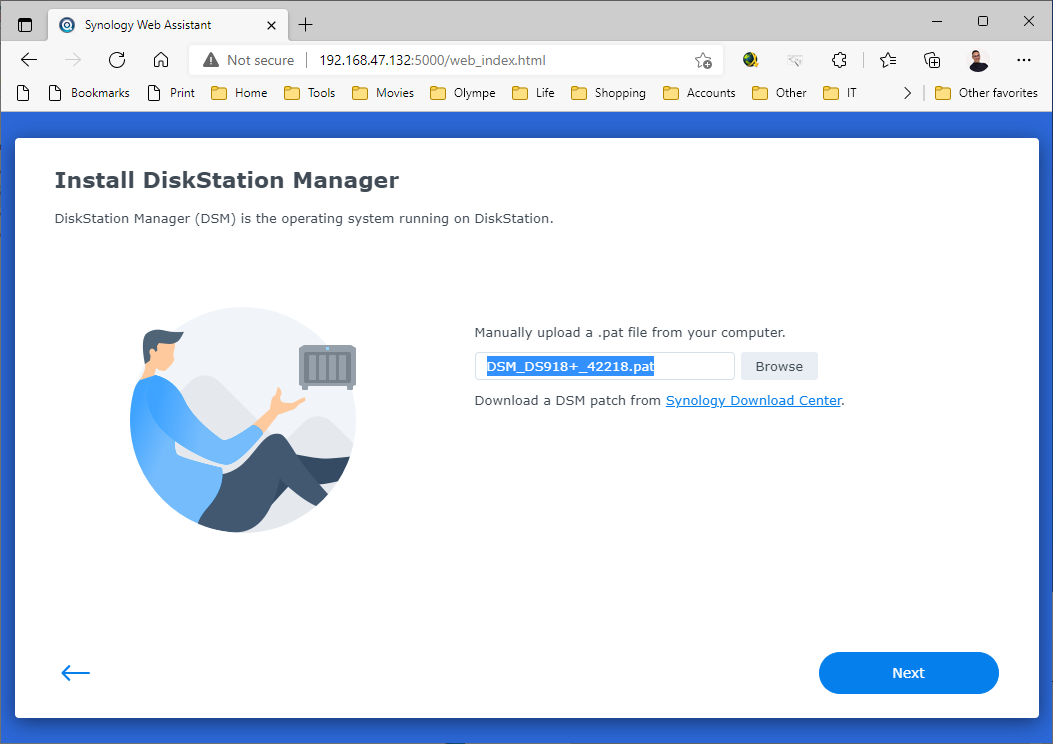
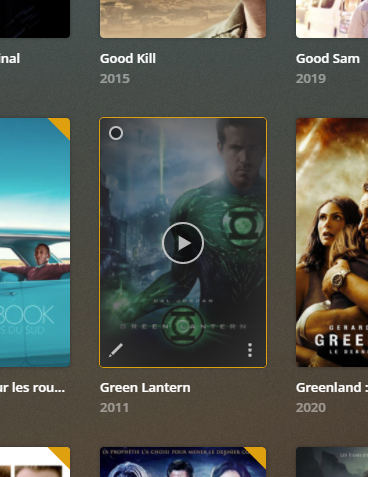
Install and run HyperBackup Explorer, then “Browse Local Backup”:

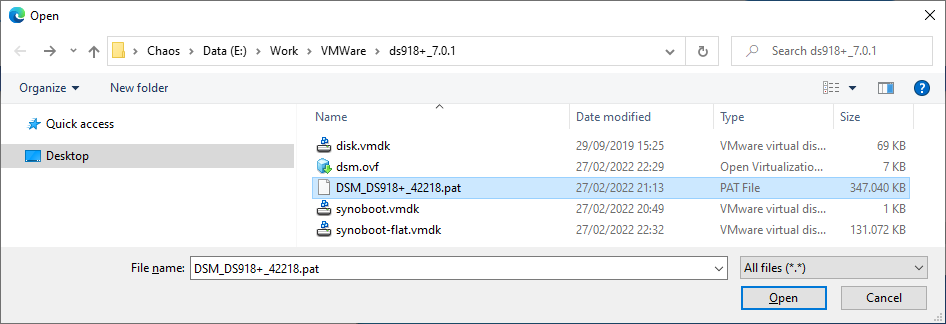
Pick the .bkpi file to open the backup image and navigate your files

Et voilà :

![]()