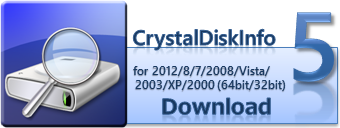
CrystalDiskInfo is is a nice freeware utility for hard drive diagnostics with support for monitoring and mail alerting based on disks’ S.M.A.R.T info.
Click to Read More
It usually supports USB connection and Intel RAID. But I like it as it gives more information than some other similar tools, a.o.: the letter assigned to the disk or the disk number instead of only the disk model name. And it can also be used to monitor the machine and send mail alerts.
Also, in addition graphs with S.M.A.R.T. information, it also show you the AAM/APM settings and let you control them.
- AAM (Automatic Acoustic Management) to reduce noise
- APM (Advanced Power Management) to reduce power consumption
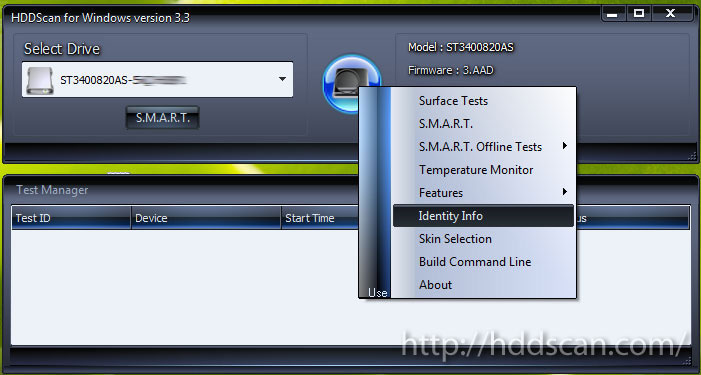
HDDScan is another nice freeware for hard drive diagnostics with support for RAID arrays, Flash USB and SSD drives.
Click to Read More
It can be used to :
- Test storage device for bad-blocks and bad-sectors,
- Verification in linear modeto determine if the drive needs data rescue, has recoverable errors or in its perfect shape.
- Reading in linear mode is a simpler, but faster disk check.
- Erasing in linear mode.
- Reading in Butterfly mode (synthetic random read).
- Show S.M.A.R.T. attributes
- Show temperatures
- Change some HDD parameters such as:
- AAM (Automatic Acoustic Management) to reduce noise
- APM (Advanced Power Management) to reduce power consumption
I like it too, in addition to CrystalDiskInfo because it can test the disks and I noticed that it was providing some other S.M.A.R.T attributes than CrystalDiskInfo…
Download: http://hddscan.com/
Information about S.M.A.R.T messages: http://en.wikipedia.org/wiki/S.M.A.R.T
![]()