Tag: VMWare

  • Setup DSM 7.1 in a Virtual Synology DS3622xs+ using VMWare

    Here is a step by step “How-To create a Virtual Machine to emulate a DS3622xs+ running DSM 7.1” using VMWare and a Loader from redpill

    Click to Read More

    I used a tutorial from internet to create a VM in VMWare 16 and exported this one as ovf. Using that ovf, you can easily setup your own VM with a DS3622xs+ running DSM 7.1.

    1: Download and unzip this package, containing:

    • the configuration of the virtual machine (dsm.ovf and two disk.vmk),
    • the boot file for DS3622xs+ (synoboot.vmdk) and
    • the image of the DSM 7.1 for DS3622xs+ (DSM_DS3622xs+_42661.pat)

    2: Open VMWare Workstation. If you never configured the default location where you want to create your Virtual Machines, press CTRL-P to open the “Preferences” panel. There, set this default location (I am using E:\VMWare).

    3: Go next to “Windows Explorer”, in the folder where you have unzipped the package, and double click dsm.ovf. This is going to import the VM into VMWare. Type a name for the new virtual machine (I am using DSM3622xs+ 7.1) and click “Import”.

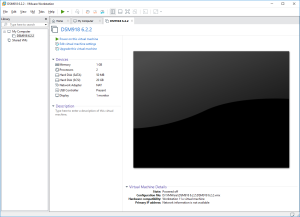
    4: Here is the outcome to the importation. You can now click on “Power on this virtual machine”. If you want, you may also first increase the Memory, the Processors or the size of the Hard Disk 2 and 3 (Do not touch the first Hard Disk  which contains the boot loader).

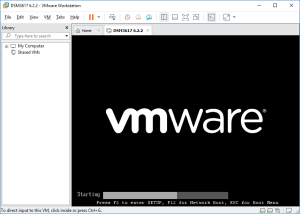
    5: 5 sec after starting the VM, the bootloader will run:


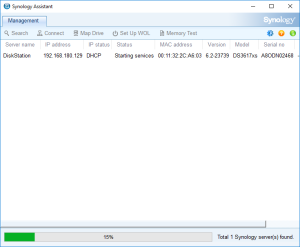
    6: Open the “Synology Assistant”, which is more efficient than the page http://find.synology.com to find your VM, and after +/- 3 minutes (depending on the perf of your PC) click on “Search”. If you didn’t wait long enough, you will see an Error message (In such a case, check that you have enabled the option “Allow compatibility with devices that do not support password encryption” in the preferences – via the gear icon in the top-right corner – and/or click Search “Again”. I never had to do this more than 3 times).

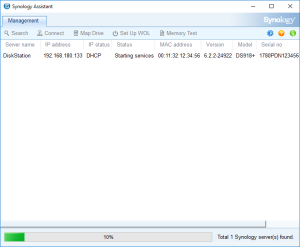
    7: Finally, the Assistant will find your VM. A webpage should automatically open (Otherwise, double-click on the VM). Approve the EULA and click Install.

    8: Click next on Browse to select the image of the DSM 7.1 for DS3622xs+ and Select the file “DSM_DS3622xs+_42661.pat” in the folder where you unzipped the package downloaded previously.

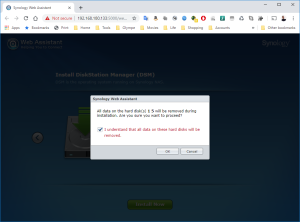
    9: Finally, click on “Next” and confirm that the installation can override the disk… (You can safely tick the “I understand…” it’s the virtual Hard Disk member of the VM. No worry 😉 )

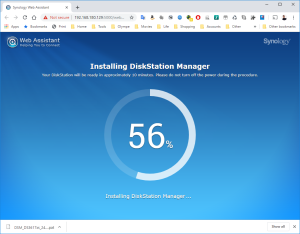
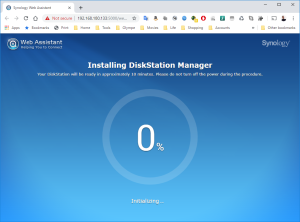
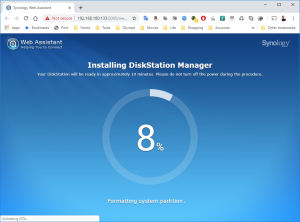
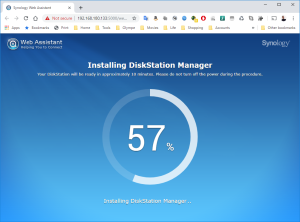
    10: The installation will take a few minutes

    11: Once the installation complete, you will see in the VMWare Workstation that the VM is rebooting. On the installation page, you see a countdown.

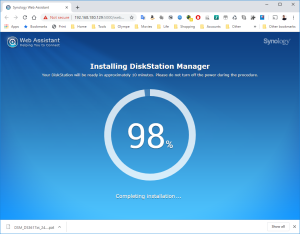
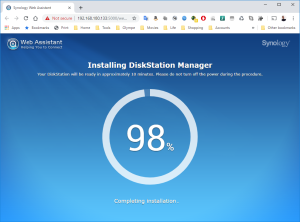
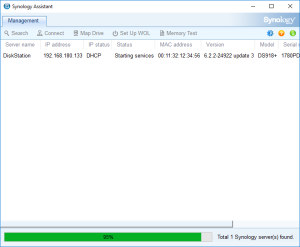
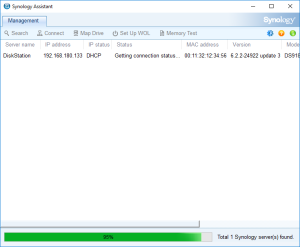
    12: You should soon see that it’s installing packages before being finally ready to “start”

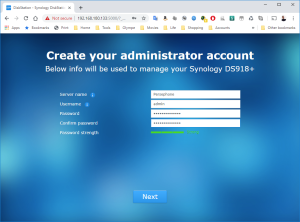
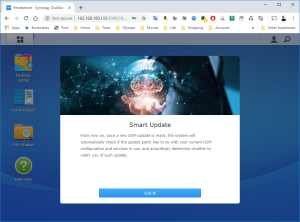
    13: If you are requested to login into the VM, do it as “admin” without password and configure it. Next configure your new NAS (Do not accept automatic updates !!!).

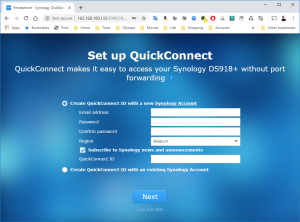
    I did skip the creation of Synology account and didn’t agree on Device Analytics or the display of this Nas in the Web Assistant.

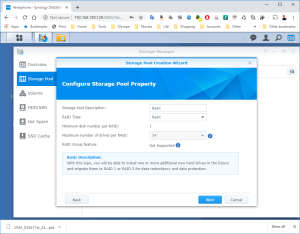
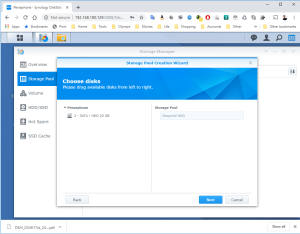
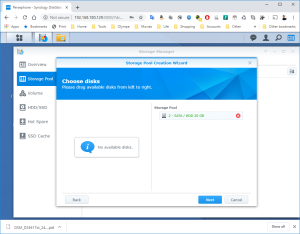
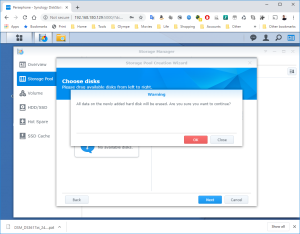
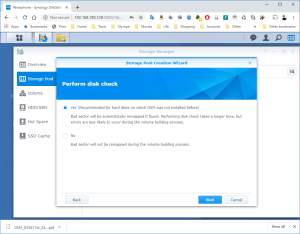
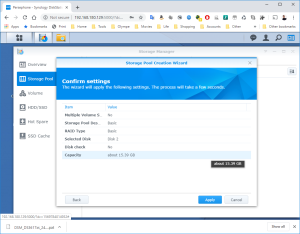
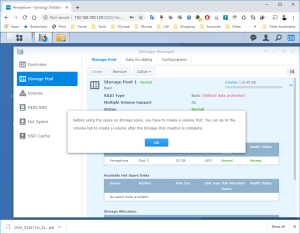
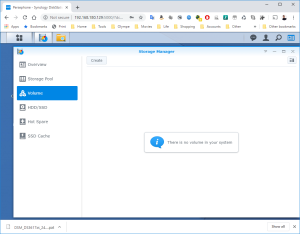
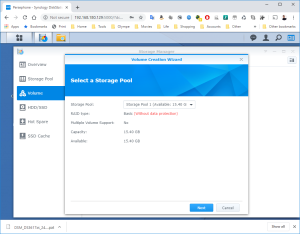
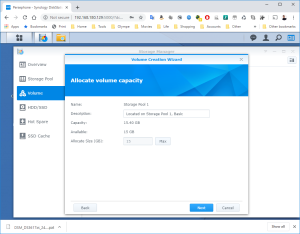
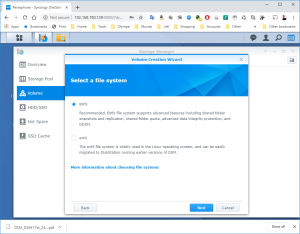
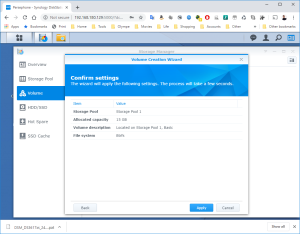
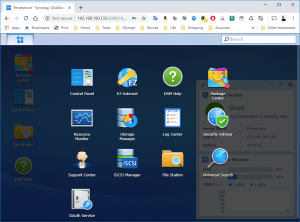
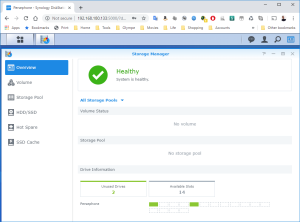
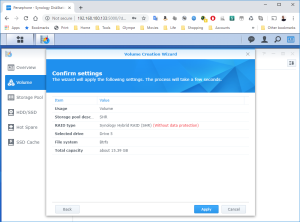
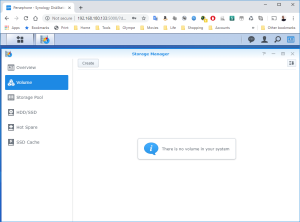
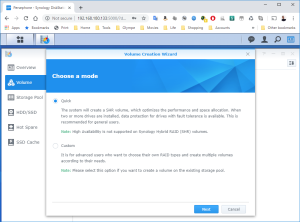
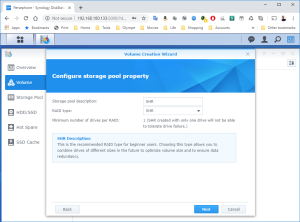
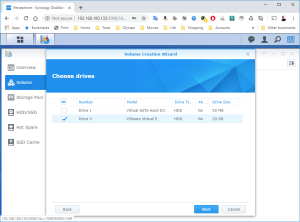
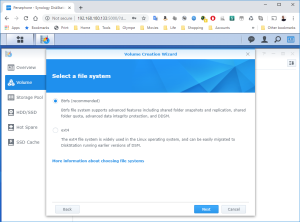
    14: It’s now time to use the Hard Disk 2 and 3 to create a first Volume. Open the DSM Main Menu and start the Storage Manager (Then, it’s just a next, next, next journey depending on which Disk Array you want).

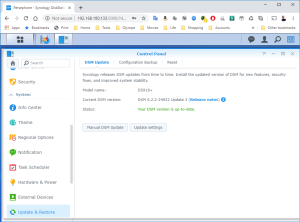
    15: Et voila, you have now a brand new DS3266xs+ with the DSM 7.1-42661 (DO NOT UPGRADE !!! The NAS would go into a “Recoverable” and I have no resolution for that)

    Loading

  • Setup DSM 7.0.1 in a Virtual Synology DS918+ using VMWare

    Here is a step by step “How-To create a Virtual Machine to emulate a DS918+ running DSM 7.0.1” using VMWare and a Loader from redpill

    THIS DOES NOT WORK ANYMORE (?): issue betwen the .pat file version and the loader => Try the DSM 7.1 with DS3622+ available here

    Click to Read More

    As for my previous packaging (DSM 6.2.2 on DS918+), I simply used various tutorials from internet to create a VM in VMWare 15 and exported this one as ovf

    1: Download and unzip this package, containing:

    • the configuration of the virtual machine (dsm.ovf, disk.vmdk and synoboot.vmdk),
    • the boot file for DS918+ (synoboot-falt.vmdk) and
    • the image of the DSM 7.0.1 for DS198+ (DSM_DS918+_42218.pat)

    2: Open VMWare Workstation. If you never configured the default location where you want to create your Virtual Machines, press CTRL-P to open the “Preferences” panel. There, set this default location (I am using E:\VMWare).

    3: Go next to “Windows Explorer”, in the folder where you have unzipped the package, and double click dsm.ovf. This is going to import the VM into VMWare. Type a name for the new virtual machine (I am using DSM918+ 7.0.1) and click “Import”.

    4: Here is the outcome to the importation. You can now click on “Power on this virtual machine”. If you want, you may also first increase the Memory, the Processors or the size of the Hard Disk 2 (Do not touch the Hard Disk 1 which contains the boot loader).

    5: 5 sec after starting the VM, the bootloader will run:


    6: Open the “Synology Assistant”, which is more efficient than the page http://find.synology.com to find your VM, and after 1 minute click on “Search”. If you didn’t wait long enough, you will see an Error message (In such a case, check that you have enabled the option “Allow compatibility with devices that do not support password encryption” in the preferences – via the gear icon in the top-right corner – and/or click Search “Again”. I never had to do this more than 3 times).

    7: Finally, the Assistant will find your VM. A webpage should automatically open (Otherwise, double-click on the VM). Approve the EULA and click Install.

    8: Click next on Browse to select the image of the DSM 7.0.1 for DS918+ and Select the file “DSM_DS918+_42218.pat” in the folder where you unzipped the package downloaded here previously.

    9: Finally, click on “Next” and confirm that the installation can override the disk… it’s the virtual SCSI Hard Disk member of the VM. No worry 😉

    10: The installation will take a few minutes

    11: Once the installation complete, you will see in the VMWare Workstation that the VM is rebooting. On the installation page, you see a countdown.

    12: You should soon see that it’s installing packages before being finally ready to “start”

    13: You will now be able to login into the VM and configure it.

    14: It’s now time to use the Hard Disk 2 to create a first Volume. Open the DSM Main Menu and start the Storage Manager.

    15: Et voila, you have now a brand new DS918+ with the DSM 7.0.1-43 Update 2.


    Loading

  • Run Raspberry Pi Desktop 4 in VMWare

    Instead of testings new softwares or configs on my actual RPI, I do it in a VM Machine. Much easier to rollback if I do a mistake. There are many videos on YouTube to explain how to install the Raspberry Pi Desktop in VMWare.

    Click to Read More

    The ISO image of Raspberry Pi Desktop is available here.

    I did create an VM, as illustrated here, with:

    • 4GB Memory
    • 32GB Hard Disk(SCSI)
    • USB 3 .1
    • And everything else “by default”
      • 1 processor
      • NAT Network Adapter

    I did:

    • a “Graphical Install” of the Raspberry Pi Desktop
    • enable SSH
    • keep the password “raspberry” for the user pi (with auto-login enabled)
    • configure the keyboard for me (Belgian – Azerty)
    • configure to location as Brussels/Belgium
    • install the VMWare-Tools (screen resolution maximized automatically)
    • Create an icon “Desktop Update” to update the packages via: sudo apt-get update && sudo apt-get upgrade -y

    And here attached in the resulting VM (a 4.5GB zip file). Download it, unzip and double click the file “Raspberry Pi 4.vmx” to open the VM into your VMWare Workstation.

    Et voilà.

    Loading

  • VMWare Workstation not compatible with Windows 10

    Starting a VM this morning, I got a new message “VMware Workstation and Device/Credential Guard are not compatible”. To be able to run my VM, I had to disable this Credential Guard.

    Click to Read More

    Credential Guard uses virtualization to store credentials in protected containers separate from the OS. As a result, the information Credential Guard protects is safe even if malware or some other malicious attack penetrates an organization’s network.

    But it prevents VMWare to run VM’s.

    To disable it, copy this script in a file named “disableCG.ps1” in your personal home folder C:\Users\<Your Name>\

    Run next a PowerShell as Administrator:

    Pay Attention that this will reboot automatically your PC !!

    In this PowerShell, execute: cd ~

    Next execute : .\disableCG.ps1 -Disable -AutoReboot

    You will see errors displayed in Red in the PowerShell. This won’t be a problem. And after a minute, the PC will reboot.

    During the reboot, you will be prompted to confirm that you really want to disable the Windows Defender Credential Guard. Press the Windows Key or F3 to confirm.


    Other options : https://windowsreport.com/disable-credential-guard-windows-10/

    Ex. Execute in a PowerShell run as Administrator: bcdedit /set hypervisorlaunchtype off


    I also had to remove “Guarded Host” and “Hyper -V” via the Control Panel > Programs > Turn Windows features on or off

    But now, Docker does not run anymore on my PC as it needs Hyper-V 🙁

    Loading

  • Use a Bridged Network for a Virtual Synology using VMWare

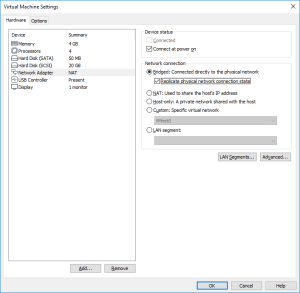
    Within the Virtual “Synologies” created as described here and here, I was using NAT for the Network Connection. To use a Bridged Network Connection is not easy, but can work.

    Click to Read More

    I wanted to reconfigure all my Virtual Synology to use NAT instead of a Bridged Network Connection.

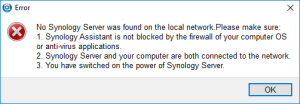
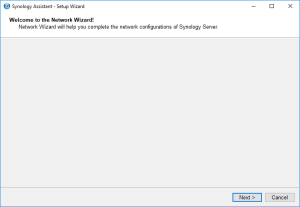
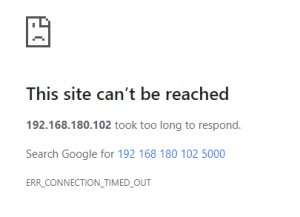
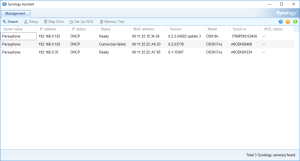
    But once this is done, the Virtual Synology does not appear anymore as configured in the Synology Assistant (which opens the Network Wizard). And trying to reach it via a browser, on its admin port,  results in connection timeout.

    If I wait for several minutes (sometimes more than 10′) and try again and again to reach my various Virtual Synology on its admin port, I finally get them.

    I don’t know yet why this is not immediate ?!… I seems to be an issue with the Bridged Connection of VMWare under Windows 10.


    I tried to clean the arp table (Run as Command Prompt as Administrator on Windows and type: arp -d *). But without success. And the problem comes back not only each time the VM is restarted, but also sometimes while running since a while…

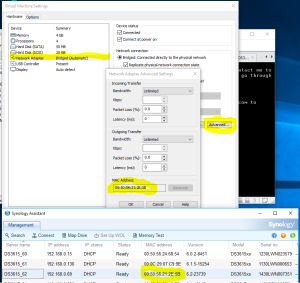
    I did check that the Mac Address of each Synology (displayed by the Synology Assistant) was correctly defined in VMWare:

    See here how to customize the MAC Address of a Synology image.


    I also checked that the Bridged Connections were correctly configured in VMWare as suggested here:

    1. Be sure your vm is stopped.
    2. Run the VMWare Virtual Network Editor (click Start and search for Virtual Network Editor)
    3. Run it as administrator (or click the button at the bottom of the screen that says, “change settings.” VMNet0 will dislpay when running as administrator. Otherwise, it will not be visible)
    4. Highlight VMNet0 and click on “Automatic Settings”
    5. You will see a list of adapters. De-select all but the physical network card. (When I set up up with player, I had selected only the 1. After install of workstation, all of the items were checked.)
    6. Click “OK”
    7. Click “Ok”
    8. Start the VM and test.


    I tried next various tips from here and here, such as stopping and restarting the vmnetbridge. The best results are achieved by deleting all the virtual adapters in the VMWare Virtual Network Editor, creating a new one bridged to a specific Ethernet Adapter and finally using that one as a “Custom: Specific virtual network” as Network Adapter for each VM.


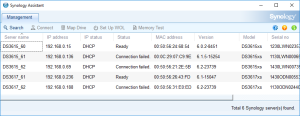
    But I still have randomly some VM with a “Connection Failed” status in the Synology Assistant. If I found how to definitively fix this issue, I will post it here.

    Loading

  • Setup DSM 6.2.2 in a Virtual Synology DS3617xs using VMWare

    Here is a step by step “How-To create a Virtual Machine to emulate a DS3617xs running DSM 6.2.2” using VMWare and Xpenology

    Click to Read More

    Xpenology is a bootloader for Synology’s operating system which is called DSM. It can be used to setup DSM on a PC or in a Virtual Machine like VirtualBox or VMWare.

    I am using VMWare 15. But any version from VMWare 11 should work.


    1: Download and unzip this package, containing:

    • the configuration of the virtual machine (dsm.ovf, dsm.vmx, disk.vmdk and synoboot.vmdk),
    • the xpenology boot file for DS3617xs (synoboot.img) and
    • the image of the DSM 6.2.2 for DS3617xs (DSM_DS3617xs_23739.pat)

    Notice that only the image “23739” is compatible with the boot file (Jun’s loader 1.03b).

    2: Open VMWare Workstation. If you never configured the default location where you want to create your Virtual Machines, press CTRL-P to open the “Preferences” panel. There, set this default location (I am using D:\VMWare).

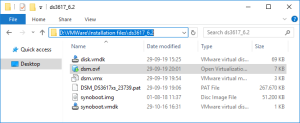
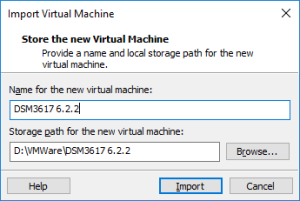
    3: Go next to “Windows Explorer”, in the folder where you have unzipped the package, and double click dsm.ovf. This is going to import the VM into VMWare. Type a name for the new virtual machine (I am using DSM3617 6.2.2) and click “Import”.

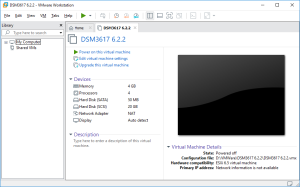
    4: Here is the outcome to the importation. You can now click on “Power on this virtual machine”. But first, be ready to type F2 in the console to enter the Bios. You will have only 2 seconds to do so!

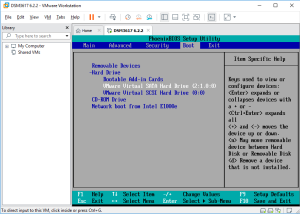
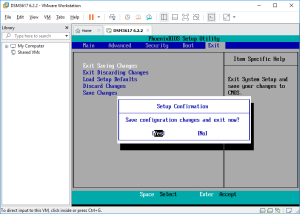
    5: As soon as you have run the VM, click into it to capture the keyboard, and press “F2”. If you missed it, the VM will try to boot from the network. In such a case restart the VM and try again! Once in the Bios, go to the Boot tab and swap the SATA Hard Disk with  the SCSI Hard disk. The VM has indeed to boot with the SATA disk containing the boot loader. Finally, Save and Exit the Bios. The VM will reboot.

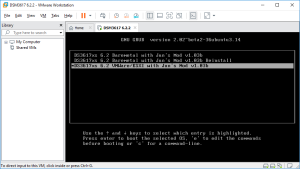
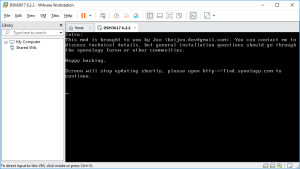
    6: Again, quickly click into it to capture the keyboard and press the “down arrow” to select the loader for “VMWARE/ESXI” (attention, you don’t have a lot of time to start the selection). Press next Enter and the boot will load. The VM is ready to install the DSM image.

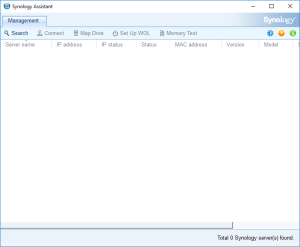
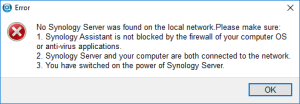
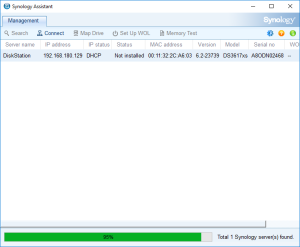
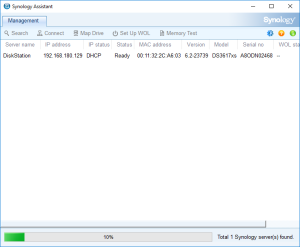
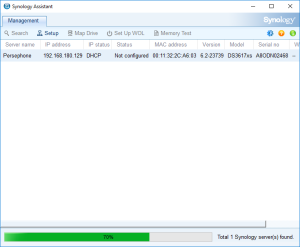
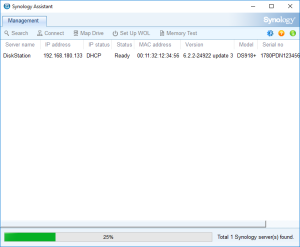
    7: Open the “Synology Assistant”, which is more efficient than the page http://find.synology.com to find your VM, and after 1 minute click on “Search”. If you didn’t wait long enough, you will see an Error message (In such a case, click Search “Again”. I never had to do this more than 3 times).

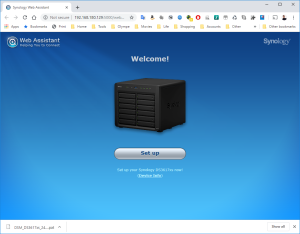
    8: Finally, the Assistant will find your VM. A webpage should automatically open (Otherwise, right click on the VM and select “Install”). Click on “Set up” in that page.

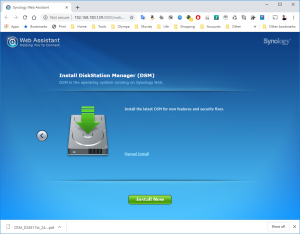
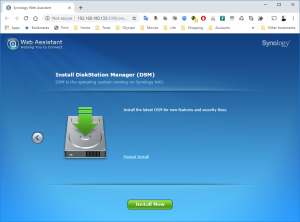
    9: Click next on the link “Manual Install”.

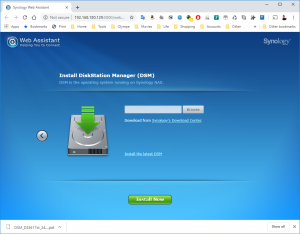
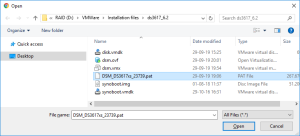
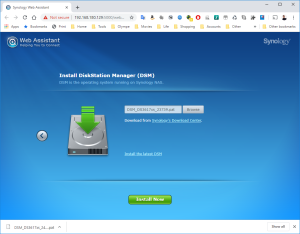
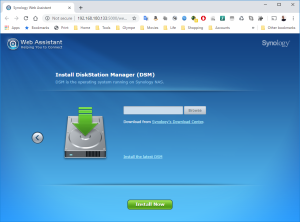
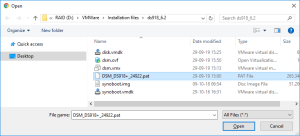
    10: Click on Browse to select the image of the DSM 6.2.2 for DS3617xs and select the file “DSM_DS3617xs_23739.pat” in the folder when you unzipped the package downloaded here previously.

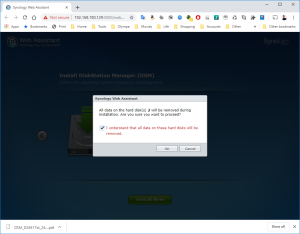
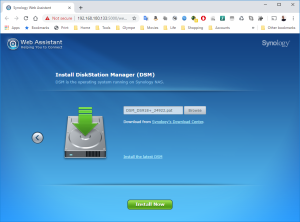
    11: Finally, click on “Install Now” and confirm that the installation can override the disk… it’s the virtual SCSI Hard Disk member of the VM. No worry 😉

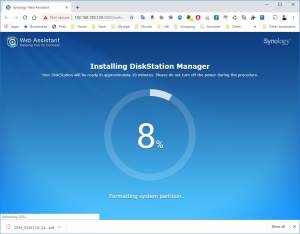
    12: The installation will take a few minutes and once completed, you will see in the VMWare Workstation that the VM is rebooting.

    13: On the installation page, you see a count down. If you want to check the status of the VM, you can go back to the Synology Assistant and Click Search. You should see that it’s restarting, etc… and is finally ready. At that moment, you can select the VM and click Connect.

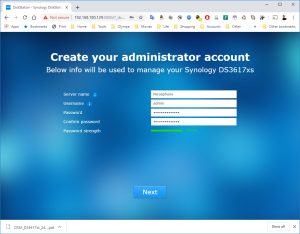
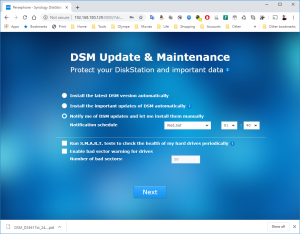
    14: You will now be able to login into the VM and configure it. DO NOT select “Install the latest DSM version automatically” or “Install the important updates of DSM automatically”!!! The image 37739 is the latest compatible with the loader used by this VM. Upgrading your DSM will break the VM.


    15: You have now a DS3617xs with the DSM 6.2.2-23739.

    16: DO NOT upgrade or the disk will disappear and the VM won’t work anymore (Someone mentions that mounting the Disk on a SATA controller instead of a SCSI one helped… See here. But it didn’t work for me). Looking into the Synology Assistant, you would see that the Virtual Synology is not configured.

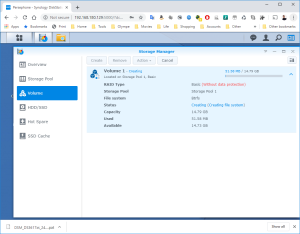
    17: It’s now time to use the SCSI Hard Disk to create a first Volume. Open the DSM Main Menu and start the Storage Manager. Go to “Storage Pool” and click “Create”. Use the HDD of 20GB. Next, go to “Volume” and click “Create”. Use the “Storage Pool” created previously.

    18: Now, you can upgrade the VM to your version of VMWare. Shutdown the DSM Properly (via the menu on the Buddy Icon in the top-right corner). The VM will soon stop.


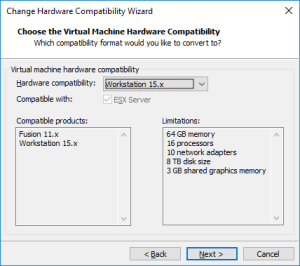
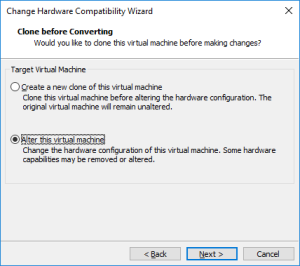
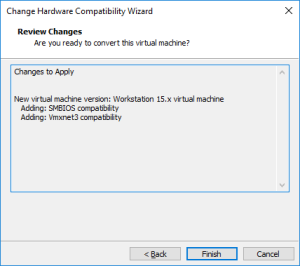
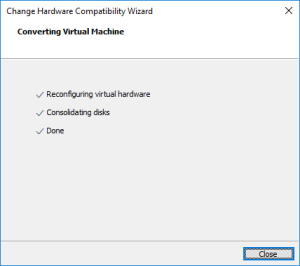
    19: Once the VM stopped, upgrade it by clicking on “Upgrade this virtual machine”.

    Et voilà !

    Loading

  • Setup DSM 6.2.2 in a Virtual Synology DS918+ using VMWare

    Here is a step by step “How-To create a Virtual Machine to emulate a DS918+ running DSM 6.2.2” using VMWare and Xpenology

    Click to Read More

    Xpenology is a bootloader for Synology’s operating system which is called DSM. It can be used to setup DSM on a PC or in a Virtual Machine like VirtualBox or VMWare.

    I am using VMWare 15. But any version from VMWare 11 should work.


    1: Download and unzip this package, containing:

    • the configuration of the virtual machine (dsm.ovf, dsm.vmx, disk.vmdk and synoboot.vmdk),
    • the xpenology boot file for DS918+ (synoboot.img) and
    • the image of the DSM 6.2.2 for DS198+ (DSM_DS918+_24922.pat)

    2: Open VMWare Workstation. If you never configured the default location where you want to create your Virtual Machines, press CTRL-P to open the “Preferences” panel. There, set this default location (I am using D:\VMWare).

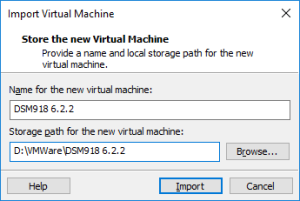
    3: Go next to “Windows Explorer”, in the folder where you have unzipped the package, and double click dsm.ovf. This is going to import the VM into VMWare. Type a name for the new virtual machine (I am using DSM918 6.2.2) and click “Import”.

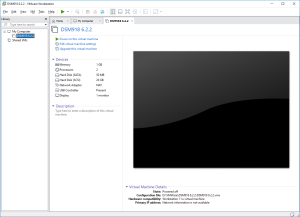
    4: Here is the outcome to the importation. You can now click on “Power on this virtual machine”. If you want, you may also first increase the Memory, the Processors or the size of the SCSI Hard Disk (Do not touch the SATA Hard Disk which contains the boot loader).

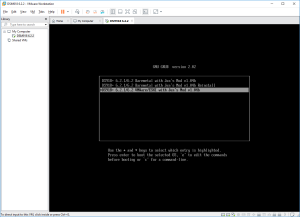
    5: As soon as you have run the VM, click into hit to let it capture the keyboard, and press the “down arrow” to select the loader for “VMWARE/ESXI” (attention, you don’t have a lot of time to start the selection). Press next Enter and it will boot.

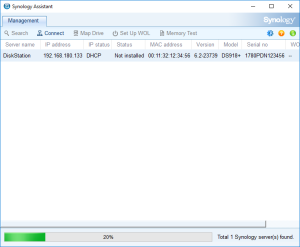
    6: Open the “Synology Assistant”, which is more efficient than the page http://find.synology.com to find your VM, and after 1 minute click on “Search”. If you didn’t wait long enough, you will see an Error message (In such a case, click Search “Again”. I never had to do this more than 3 times).

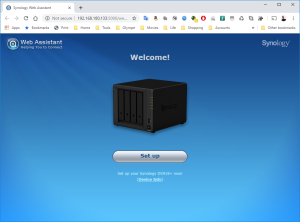
    7: Finally, the Assistant will find your VM. A webpage should automatically open (Otherwise, right click on the VM and select “Install”). Click on “Set up” in that page.

    8: Click next on the link “Manual Install”.

    9: Click on Browse to select the image of the DSM 6.2.2 for DS918+ and Select the file “DSM_DS918+_24922.pat” in the folder where you unzipped the package downloaded here previously.

    10: Finally, click on “Install Now” and confirm that the installation can override the disk… it’s the virtual SCSI Hard Disk member of the VM. No worry 😉

    11: The installation will take a few minutes

    12: Once the installation complete, you will see in the VMWare Workstation that the VM is rebooting. On the installation page, you see a countdown. If you want to check the status of the VM, you can go back to the Synology Assistant and Click Search. You should see that it’s restarting, installing patches, reconnecting and finally ready. At that moment, you can select the VM and click Connect.

    13: You will now be able to login into the VM and configure it.

    14: It’s now time to use the SCSI Hard Disk to create a first Volume. Open the DSM Main Menu and start the Storage Manager.

    15: Go to Volume and click Create. Select the HDD of 20GB, etc…

    16: You have now a brand new DS918+ with the DSM 6.2.2-24922 Update 3.

    17: Now, you can upgrade the VM to your version of VMWare. Shutdown the DSM Properly (via the menu on the Buddy Icon in the top-right corner). The VM will soon stop.

    18: Once the VM stopped, upgrade it by clicking on “Upgrade this virtual machine”.

    Et voilà !

    Loading

  • Expand a Synology RAID 0 Volume with bigger disks using VMWare…

    I had 2 x 2TB disks in a RAID 0 Volume on my DS713+ and wanted to replace them with 2 x 3TB… My first idea was quite simple: move the 2TB disks from the DS713+ into my PC, next to the 3TB disks, clone those 2TB onto the 3TB disks and resize the data partition… Unfortunately, googling for users’ feedback on such an operation, I finally felt that it could possibly be no such a real piece of cake… So, I used my second idea: “Backup” the DS713+ into a Virtual Synology, replace the 2TB with the 3TB in the DS713+ and “Restore”.

    Click to Read More

    I decided to not try the “partition resizing” approach because it seems that expanding next the Volume to use the free space on the partition could be difficult (if possible at all). I will for sure try that idea later with dummy data. But for now, I wanted a peace-of-mind-solution. So, I did:

    1. Create a Virtual Synology (a DS3612xs with DSM 5.0-4528) with enough space,
    2. Enable the Network Backup Service on that DS3612xs
    3. Clean-up as much as possible on the DS713+ (DSM 5.0-4528 update 1)
      1. Disabled the camera in Surveillance Station and  deleting all the recordings
      2. Stopping Plex, Video Station, Audio Station and Photo Station
      3. Deleting all the movies from \\<DiskStation>\video (As those are anyway backuped on my main server)
      4. Deleting all the musics from \\<DiskStation>\music (As those are anyway backuped on my main server)
      5. Keeping however the photos to not loose albums’ settings and thumbnails (as those would require days to be recreated!)
    4. Backup as much as possibly from the DS713+
      1. Using the native “Backup & Replication” feature, but also
      2. “Exporting” the Configuration of the “Surveillance Station” and Copying the extra licences (not the default one)
      3. “Exporting” all the complete zones’ settings from the “DNS Server”
      4. Taking note of the information not backuped:
        1. “QuickConnect”
        2. “External Access”
        3. “Network”
        4. “Security”
        5. “Notification”
        6. “Application Portal alias”
      5. Taking note of:
        1. All the Packages installed:
        2. The custom “Package sources” configured in the settings of the Package Center
      6. Backuping Wordpress
        1. Stopping first WordPress
        2. Taking a Backup of the database wordpressblog via a full “Export” with phpMyAdmin
      7. In addition, to be 100% safe,I also took a full copy of
        1. the Plex’s configuration & settings: \\<DiskStation>\Plex\Library\Application Support\Plex Media Server
        2. the WordPress installtion: \\<DiskStation>\web\wordpress
        3. All my “customized” stuff
    5. Replace the 2 x 2TB with the 2 x 3TB in the DS713+
    6. Reinstall DSM 5.0 on the DS713+ with the same name and admin’s password as previously
    7. I reinstalled WordPress, Plex, DNS Server and PhotoStation, but I did not configure them and stopped them! (Actually, I don’t know yet if installing them before the restore was required… — to be checked).
    8. Enable the Telnet Service in “Terminal & SNMP”
    9. Restore manually the information for
      1. “QuickConnect”
      2. “External Access”
      3. “Network”
      4. “Security”
      5. “Notification”
    10. Restore the Backup made on the DS3612xs. It included:
      1. All the Shared Folders selected to be backuped
        1. Shared Folders recreated when installing a Packages are renamed!
      2. The “File Services” settings
      3. The “Users”
      4. The “Groups”
      5. (I don’t use the Directory Services)
      6. The “Regional Options”
      7. The “Task Scheduler”
      8. The “Application Portal” alias
    11. Reinstall the other Packages.
    12. Import manually the DNS zones exported previously (via “Create” > “Import zone”).
    13. Fix issues with “Surveillance Station” if any.
      1. I had to delete the camera restored with the Backup in “Surveillance Station” (weird as I successfully restored such backups in the past…)
      2. Add manually my extra licences
      3. Import manually the Configuration settings I exported previously.
    14. Restore manually the database of WordPress via phpMyAdmin and start next WordPress. It should not prompt you anymore to configure it.
    15. Check that the expected content has been restore in the various Shared Folders: photo, Plex (music and video if not cleaned-up), etc…
    16. Delete all Plex’s plugins (hidden folder \\<DiskStation>\Plex\Library\Application Support\Plex Media Server\Plug-ins). They will be reinstalled automatically when you will start Plex. I have indeed noticed that various features do not run fine anymore in the Administration site otherwise. Ex.: choose language when editing libraries or fixing incorrect match, choosing providers, etc…
    17. Start all Packages currently stopped.

    Here after, the steps to create a Virtual Synology:

    Click to Read More

    1. Take the latest Boot Image iso available to start a “DSM” in a VMWare (Nanoboot-5.0.3.2 DSM 5.0-4528 x64) here.
    2. Take next the latest DSM pat Image (DSM 5.0-4528) here.
    3. Get the Synology Assistant from here and install it.
    4. Use VMWare Workstation 10 to create a new VM (You may create a Shared one to be able to run it remotely if you want):
      1. Create a “Custom (Advanced)” virtual machine
      2. Linux, version “Other Linux 2.6.x kernel 64-bit”
      3. With 1 processor, 2 cores
      4. 1024MB Memory
      5. Using a Bridged network
      6. LSI Logic Controller
      7. SCSI Disk Type
      8. And a large new virtual disk fully allocated (for performance reason)
    5. Instead of starting the new machine immediately, edit the settings: the CD/DVD must be changed to use the Iso Boot Image donwloaded at step 1.
    6. Next, edit the “.vmx” file created by VMWare next to the VM: Add this line just after the first one: bios.bootOrder = “cdrom”
    7. Now start the VM. It shows a menu with various entries named “Nanoboot-5.0-4528 xxx”. Pick the one to “Install/Upgrade”.
    8. Run next the Synology Assistant. It will find a “DiskStation” not yet installed. Select that one and right-click to “Install” it.
    9. When prompted for the Installation File, pick the pat file downloaded at step 2.
    10. Proceed until the installation is completed (Give a name to you new Synology. No need however to setup a QuickConnect ID).
    11. Enable the Backup https://www.synology.com/en-us/support/downloadService via the Start Menu > Backup & Replication > Backup Service > Enable Backup Network Service.

    You are now ready to backup your actual Synology.

    And icing on the cake, here is how to access the DSM and data still available in the old RAID 0 Volume (I.e.: on the two old 2TB):

    Click to Read More

    I did create a second Virtual Synology with the RAID 0 volume still available on the two old 2TB! Doing so, I will still be able to access all my data and settings if by any chance some have not been correctly restored.

    1. Take the latest Boot Image iso available to start a “DSM” in a VMWare (Nanoboot-5.0.3.2 DSM 5.0-4528 x64) here.
    2. Get the Synology Assistant from here and install it.
    3. Use VMWare Workstation 10 to create a new VM (You may NOT create a Shared as those do not support physical disks. Also you better have to run VMWare as Administrator otherwise adding physical disks could be disabled):
      1. Create a “Custom (Advanced)” virtual machine
      2. Linux, version “Other Linux 2.6.x kernel 64-bit”
      3. With 1 processor, 2 cores
      4. 1024MB Memory
      5. Using a Bridged network
      6. LSI Logic Controller
      7. SCSI Disk Type
      8. And add the two old physical disks. Notice: the order is important. If they are not in the correct order, the DSM won’t start and report a disk access failure. No panic: simply swap the disks and retry 😉
    4. Instead of starting the new machine immediately, edit the settings: the CD/DVD must be changed to use the Iso Boot Image donwloaded at step 1.
    5. Next, edit the “.vmx” file created by VMWare next to the VM: Add this line just after the first one: bios.bootOrder = “cdrom”
    6. Now start the VM. It shows a menu with various entries named “Nanoboot-5.0-4528 xxx”. Pick the one to “Install/Upgrade”.
    7. Run next the Synology Assistant. It will find your old Synology “Migratable”. Select that one and right-click to “Migrate”. The RAID 0 Volume is detected automatically and the DSM should load. If it fails around 50%, swap the physical disks and restart the VM. They are probably not in inserted in the correct order (I did swap them physically in my PC – as using bays- but I could have removed them from the VM configuration and re-added them in the right order).
    8. NB: installing with the option to download the latest DSM version failed. I had to download and use the pat file DSM 5.0-4528 available here.
    9. Give this new Synology a unique name and disable any service that would conflict with one already running somewhere else.

    Loading