I recently discovered GateOne, a free HTML5 web-based terminal emulator and SSH client for which there is a Package for Synology on the SynoCommunity. Unfortunately, the setup doesn’t work anymore on the most recent DSM versions. As SynoCommunity prevents users to manually download their SPK, I did recover it from Synology’s temp download in order to fix myself the issues reported here and recreate a package.
[EDIT 30/12/2018] I have posted a new version of this script here.
Click to Read More
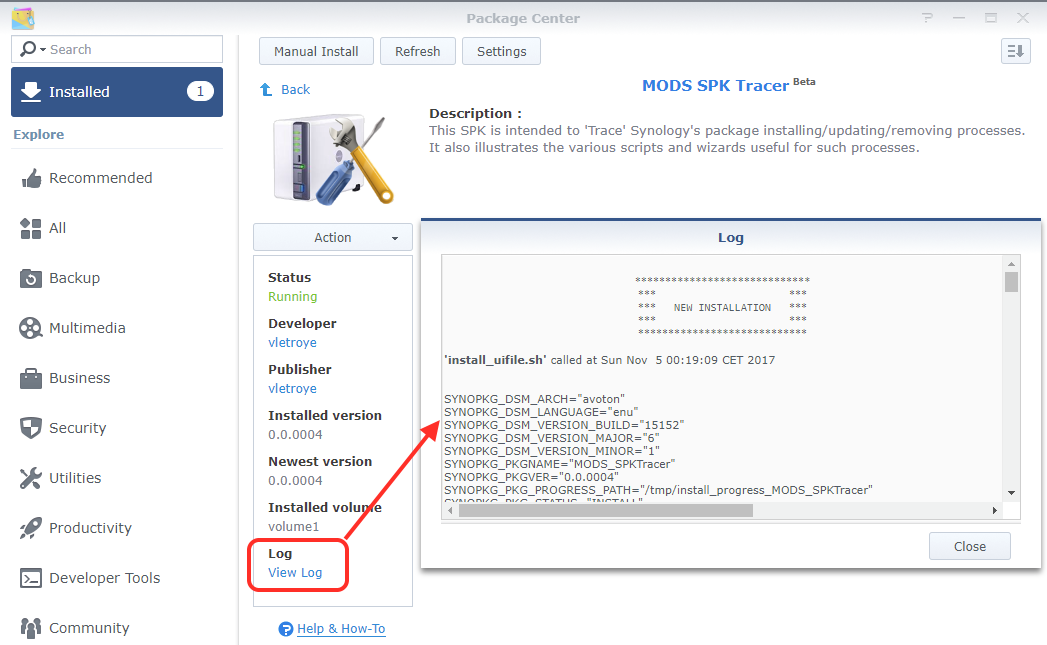
So, as one cannot manually download the Synology package (SPK file), the idea is to simply capture the SPK during its installation (even if that installation fails).
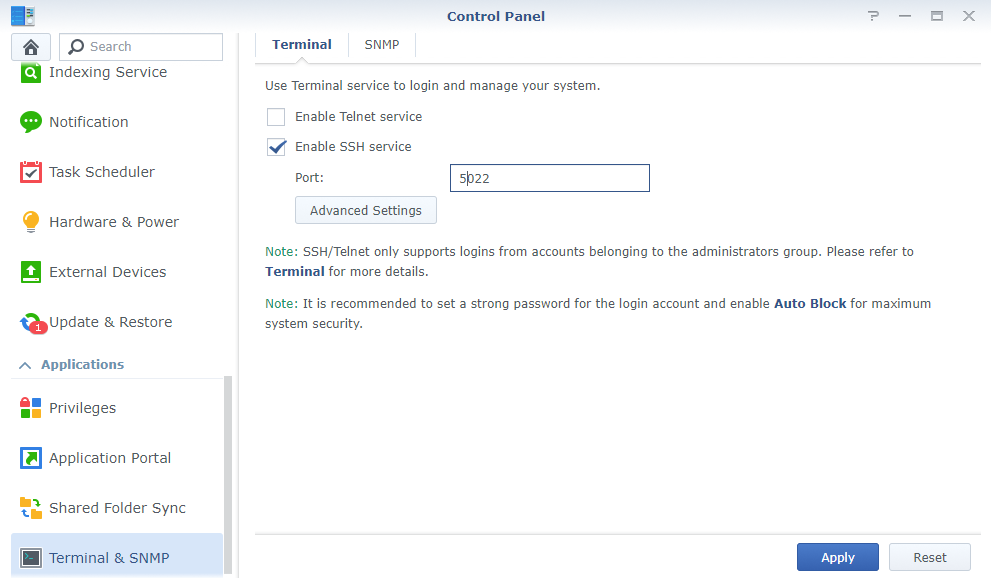
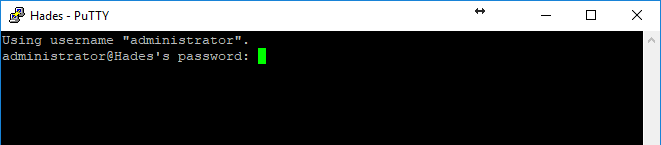
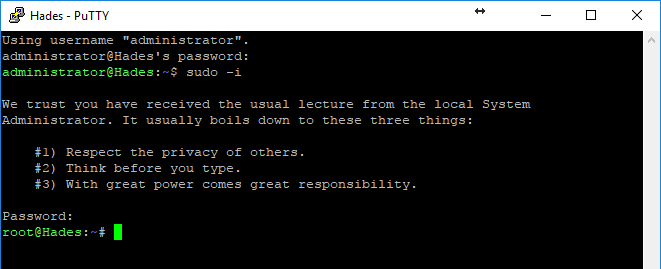
First, log into a SSH console via putty and enter root mode.
Create the following script, named ‘capture.sh’
#!/bin/bash
VOLUME=$1
TARGET=$2
if [ -z “$VOLUME” ]; then
echo “usage: capture <source VOLUME> <target dir>”
exit 0
fi
if [ -z “$TARGET” ]; then
echo “usage: capture <source VOLUME> <target dir>”
exit 0
fi
pattern=”volume[0-9]+”
if [[ ! $VOLUME =~ $pattern ]]; then
echo “The name of the source volume must be like ‘volume<i>’ where <i> is numeric”
exit 0
fi
if [ ! -d “/$VOLUME/@tmp” ]; then
echo “Temporary dir not found: /$VOLUME/@tmp”
exit 0
fi
if find “/$VOLUME/@tmp/” -mindepth 1 -print -quit | grep -q .; then
rm -R /$VOLUME/@tmp/*
fi
echo “Press any key to stop the capture”
if [ -t 0 ]; then stty -echo -icanon -icrnl time 0 min 0; fi
count=0
keypress=”
while [ “x$keypress” = “x” ]; do
let count+=1
echo -ne $count’\r’
keypress=”`cat -v`”
cp -R “/$VOLUME/@tmp” “$TARGET/SynoCapture”
done
if [ -t 0 ]; then stty sane; fi
echo “$count captures done”
exit 0
This script will
- first, delete the temporary folder from the volume where you will install the package to be captured. Ex.: /volume1/@tmp
- next, loop until you press any key. And during the loop, it will copy any (new) content from the temporary folder into a folder named ‘SynoCapture’ on a target shared folder. Ex.: on your NAS’ web folder /var/services/web/
So, concretely,
- Run the script via a command like: ./capture volume1 /var/services/web/
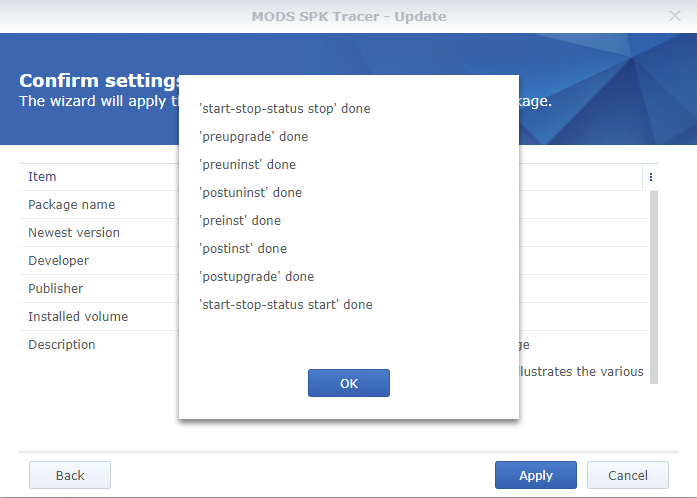
- Install your package via the package manager
- Stop the script by pressing any key once the package has been installed
- (You may now uninstall your package)
Voilà, first step accomplished. Now, look into your capture (Ex.: in \\<Your NAS>\web\SynoCapture\).
- You should see a folder named “@synopkg\@download\<Package>”. This folder contains the package but without its file extension .spk (Ex.: @SYNOPKG_DOWNLOAD_<Package>). Gotcha !!!
- You should also see a folder named “pkginstall”. This one contains the package deflated.
- Now, a little extra… you should also find a folder name “pkglist.tmp” containing two files: synoserver.enu and : otherserver.enu (with possibly other extensions depending on your DSM language?). Those files contains the URL’s of all SPK available respectively on the official Synology website and on the various SPK servers that you configured in your Package Center > Settings > Package Sources.
If you are running Windows 10 with Powershell, copy the content of those files into on file named input.txt and open a powershell in the folder where you have saved that input.txt file. Execute next this to filter the file and extract the URL’s:
select-string -Path input.txt -Pattern ‘http[^”]*\.spk[^”]*’ -AllMatches | % { $_.Matches } | select-object Value > output.txt
You can copy/paste the content of output.txt into MyJDownloader (asking for a “deep link analysis”!). Magic !
![]()